Saturday, September 30, 2006

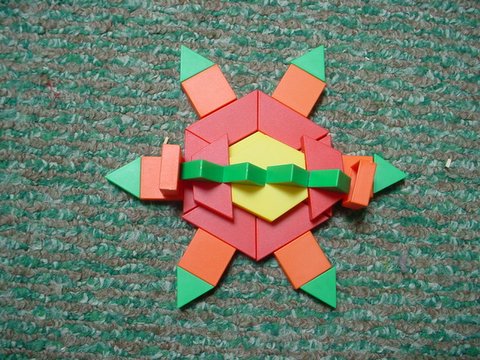
Pattern Blocks

 
The student who made this would be well-served to try to create the same design in paper. Trying new designs, and trying and trying again is why we have a station for conceptual art. Posted by Picasa

Collaborative Collage

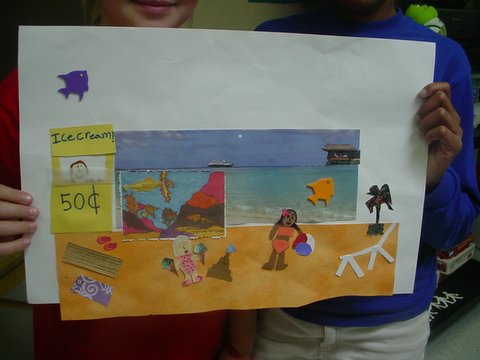
Two girls worked on this well-thought-out collage together for several days, carefully searching for just the right items to add to their beach. Posted by Picasa

Our Second Year as a Choice Art room

This year is going very smoothly. Many of the students were already accustomed to the routine in our studio. They fell right in to the routine of making their own choices of materials and subject matter. We began the year with a discussion of where artists get their ideas, but I found that many of them were all ready with ideas that they had thought of during the summer. They are not nearly so hesitant this year to strike out on their own.

They were anxious for the stations to open, but I have opened them slowly. At each one I wanted to teach them additional techniques, as well as offer additional materials. In the upper grades, we have drawing, computer graphics, collage, paper sculpture, weaving, conceptual building in 3-D, and painting stations open so far. In 2nd grade, we have drawing, collage, computers, clay, stamping, painting, large drawing on the dry-erase easel, and building in 3-D open. 1st grade students have just learned that they can make choices in our art studio, as a real artist does. They may choose between drawing, computers, clay, stamping, building, and drawing on the dry-erase board.

Kindergarten students are new to our specialties rotation this year. I have not yet introduced to them the concept that they can make a choice, but I am rotating many different materials between their tables: drawing materials, stencils, clay, stamps, and three-dimensional building sets. I plan to ease them into the concept of making a choice, but each group always has the choice of drawing rather than the other activities, and so many of them are fascinated with my variety of drawing materials, that they choose that over the other activities.
Friday, March 10, 2006

Clay Station

Clay was added as a station in the spring in 3rd, 4th, and 5th grades. Techniques were demonstrated, then the students chose their subject matter. The clay was then fired in the kiln. Some students used acrylic paint to add color.
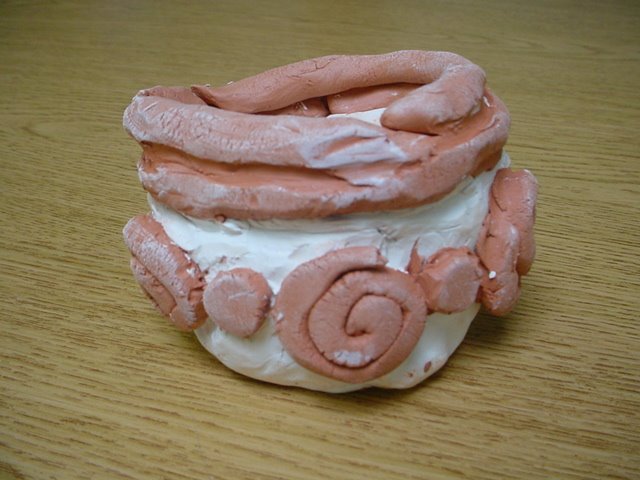
One of the techniques demonstrated at the clay station was building by coils. This student added coils to a pinch pot to create this unique pot. The other techniqes demonstrated were pinch and pull, and additive sculpture. This student used both coiling and additive techniques to add the decorations on the pot.

Sunday, February 12, 2006

Puppets and Dolls Station


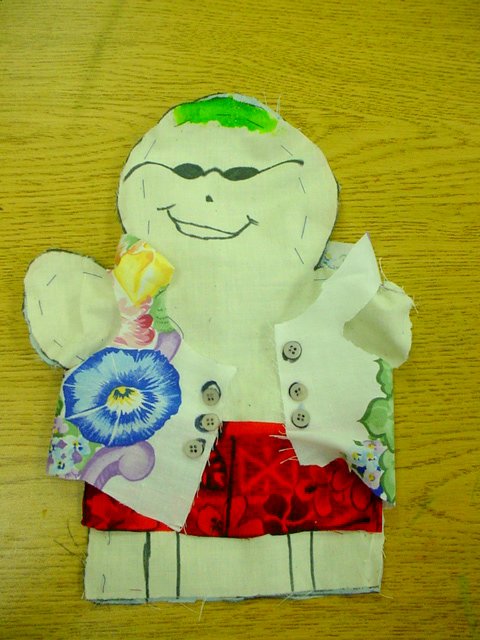
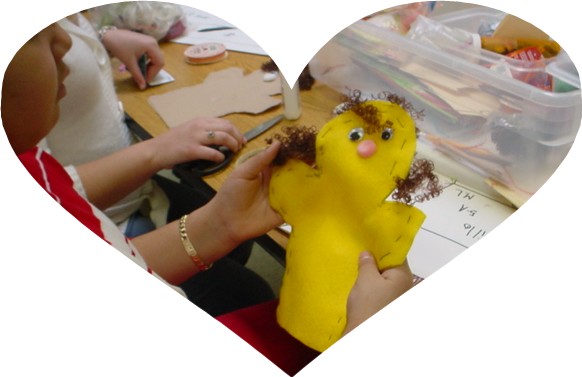
We have a new station in which we can make hand puppets, sock puppets, or dolls. We are learning how to thread a needle, knot the thread, cut fabric from a pattern, and sew a running stitch.


The student who made this puppet gave him sunglasses, a pair of shorts, and a vest with buttons.

Artist Study

One of the reasons given by the students for making art is to become an artist who makes a living by making art work. We took our discussion of "why make art" one step further and began to study master artists. For several class periods we discussed Picasso. We viewed his abstract art, his realistic art, his ceramics, his cubism, and his one-line drawings. Our younger students even learned a song about Picasso.

We have been learning new techniques at the painting station, such as wet-on-wet, splatter, dry brush, and layering thick paint. All of these techniques led us to a study of the French Impressionist painter, Claude Monet.

Sunday, January 08, 2006

Why Make Art?

As soon as the winter break was over I began a discussion on why people make art now or have made art in the past. I have a tablet in which I am recording the ideas from each class. We are spending five minutes at the beginning of each class, then go to work making art. I'm planning on posting some of the most clever responses.

Creative Santa


This is an inventive way to make a Santa using our recycled materials!

Hands, Head, and Heart

This student created her heart-felt art using oil pastels.
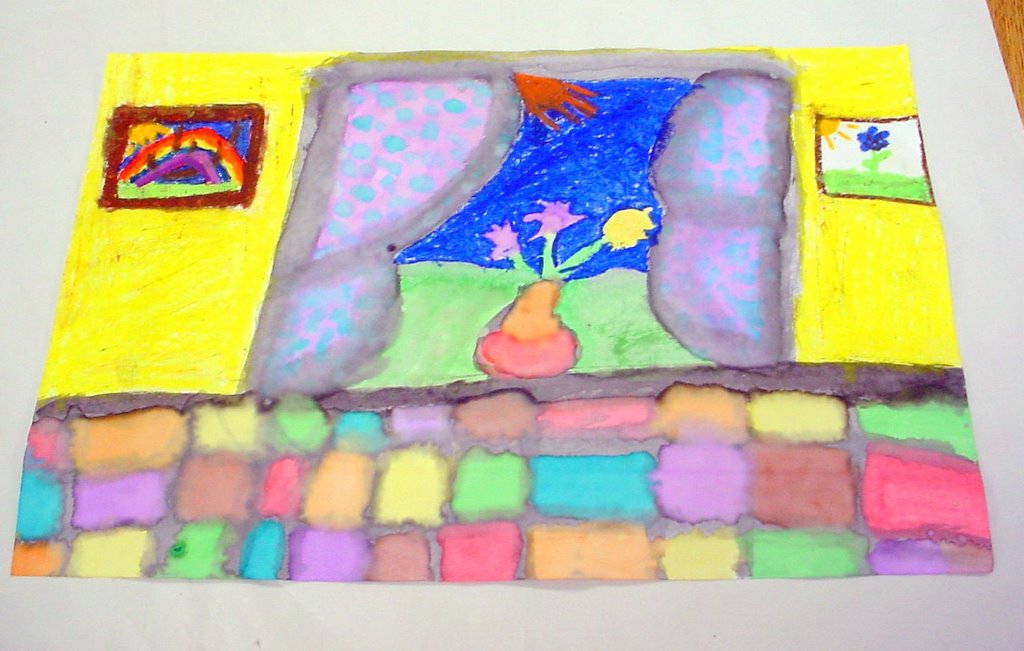
This student has demonstrated the concept that if you use your hands, head, and heart to make your art, then you are a true artist. She used tempera paint and oil pastels in this mixed-media picture.

Painting Instruction


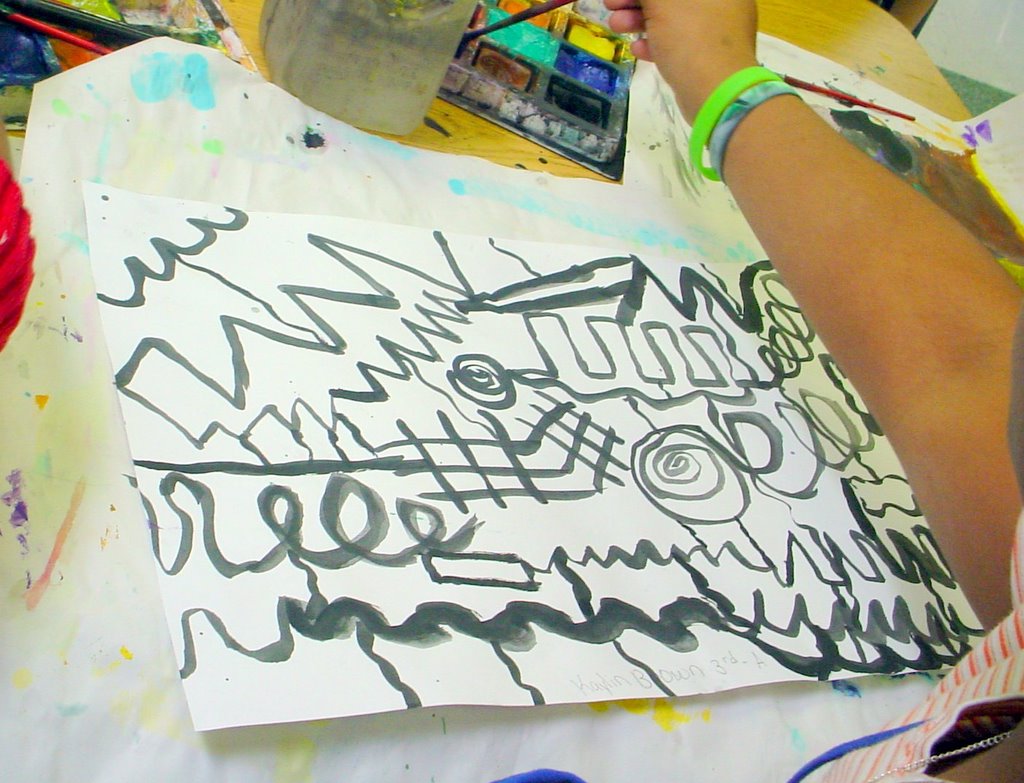
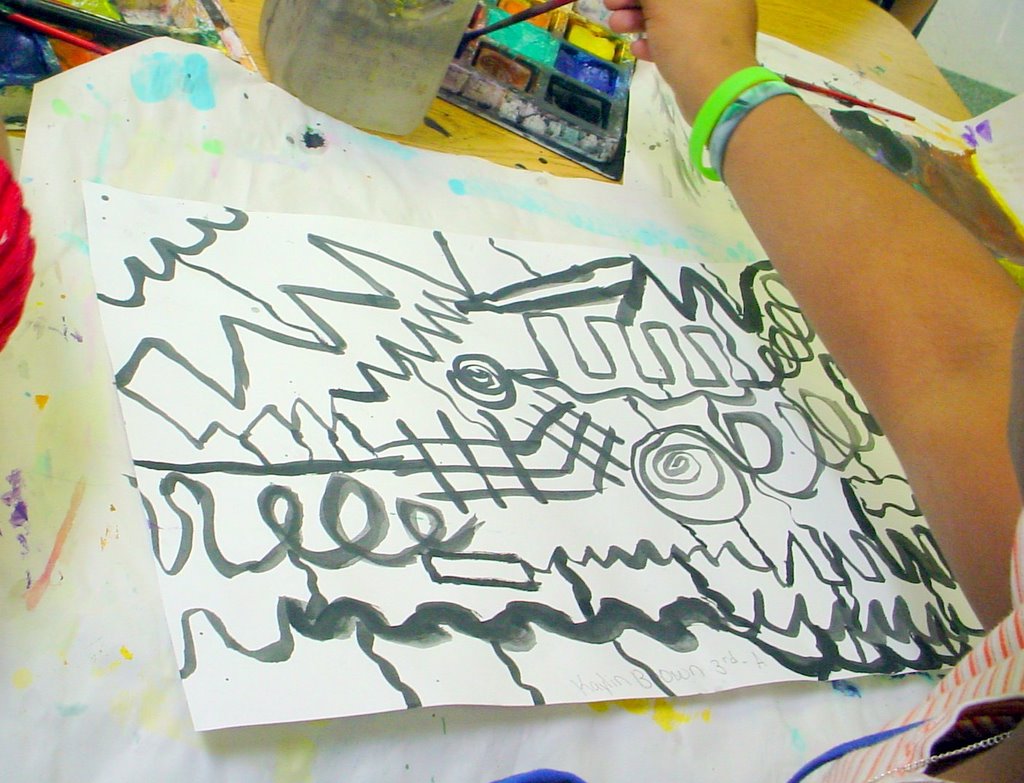
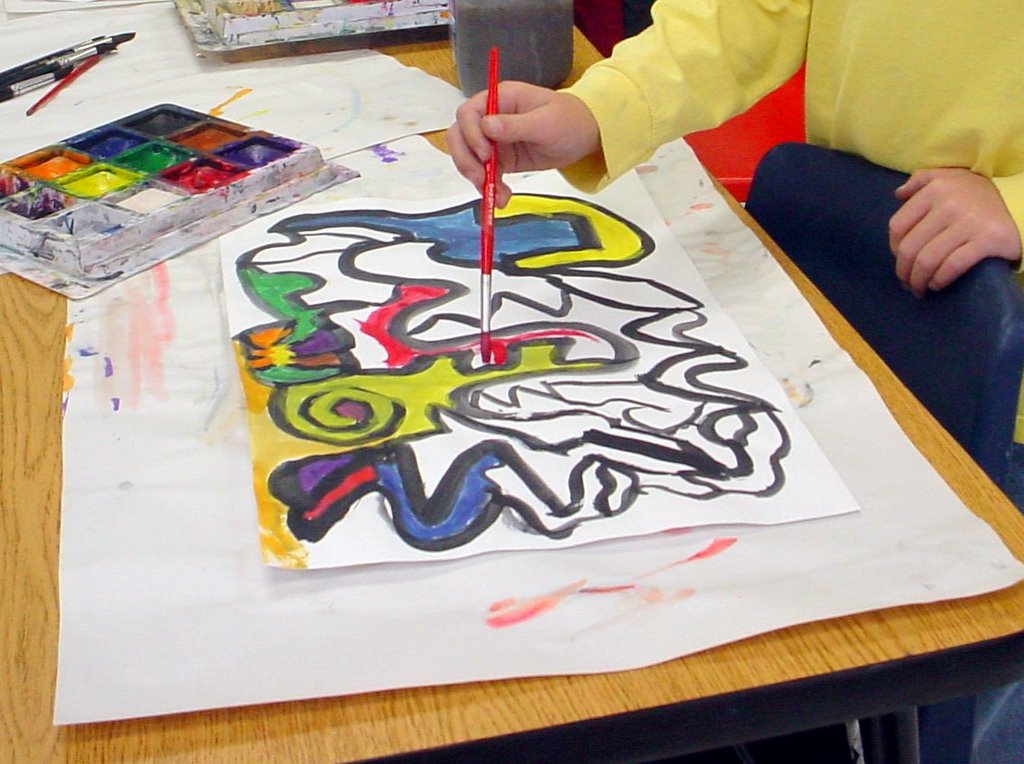
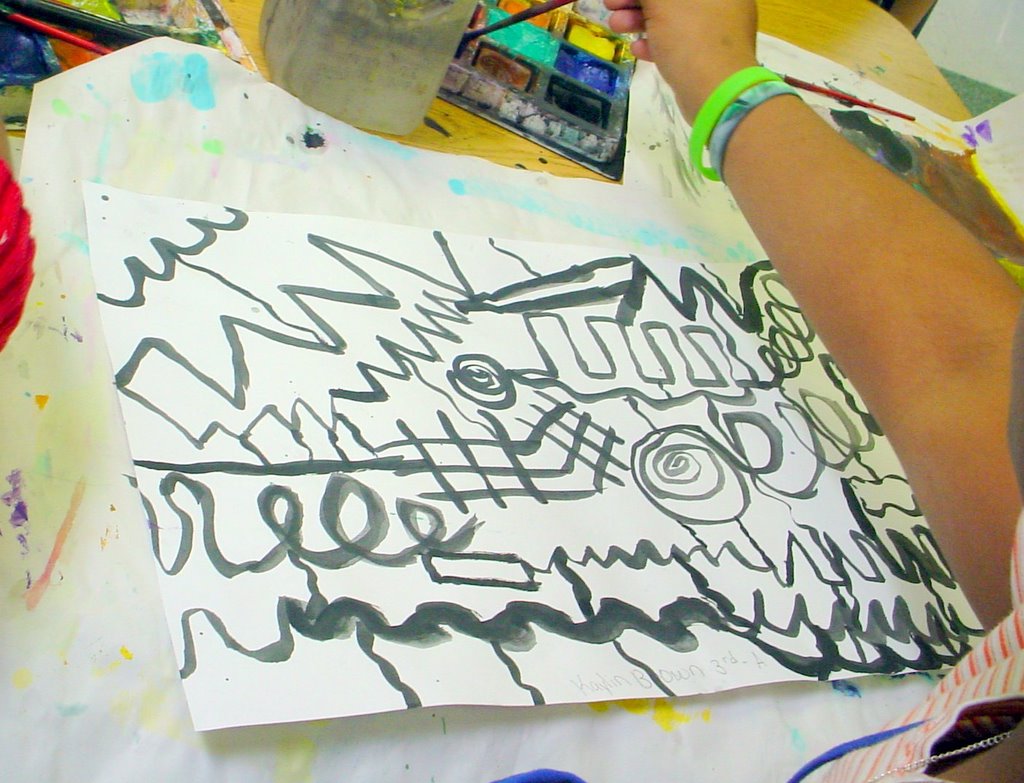
I decided that we needed some instruction in painting in third, fourth, and fifth grade. I chose to use an idea from a book by Cathy Weissman Topal called Children and Painting. I set up all of the tables for painting. We discussed thick and thin lines, and listed a variety of decorative lines such as zigzag, wavy, looped, crenellated, scalloped, broken, dotted, spiral, and even have some that we made up and call tepee lines and mousehole lines. Each student was to use a large brush and black paint and scatter eight different thick and thin lines across their paper. Then they used a smaller brush to connect the lines so that their paper was divided into shapes and spaces. Afterwards they filled in the shapes with color. This is the only lesson so far that we have done as a group since we began choice art, but I think that it was effective. We had discussed the non-objective style of art before, but I think that the students have a better understanding of how to create it now.
Friday, December 30, 2005

The Creative Process Menu


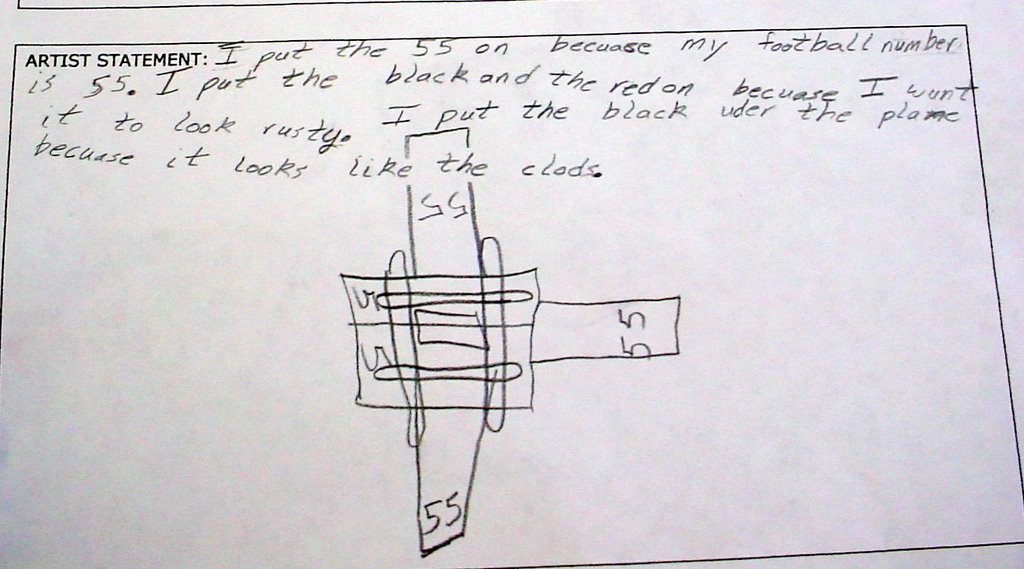
Before the winter break, we spent a couple of weeks discussing the steps used by an artist in his or her creative process. I like the words used by one of the other TAB-Choice teachers in hers, so I borrowed it. First we Explore (all of the stations and the materials available), then we Plan (what we want to make and what materials we will use), then we Create (the actual making of the art), then we Refine (look at our art to see if it needs anything else or if we need to make any changes), then we Reflect (this is when we write our artist statements). One of my goals this year has been to have the students reflect on what they have created and document it in an artist statement for every piece of art that they make. I think that this will help them to remember the steps in their creative process and then build on what they have learned in this piece on each new piece of their art. This is what I hope every student can take away from art: to know that they are creative thinkers who can solve, decide, create, and learn on their own. I think that this will also help them to realize the importance of their art work. In their artist statements, I ask them to document the steps that they took or tell the viewer what they were thinking about as they made their art work. If their art work is three-dimensional, I also ask them to draw a picture of it to have a record in their portfolios. Three-dimensional art must be taken home when it is completed because of our limits on storage in the art room.

Tyler's airplane is an example of a finished product that shows careful planning, refining, and reflecting.

Blake's City


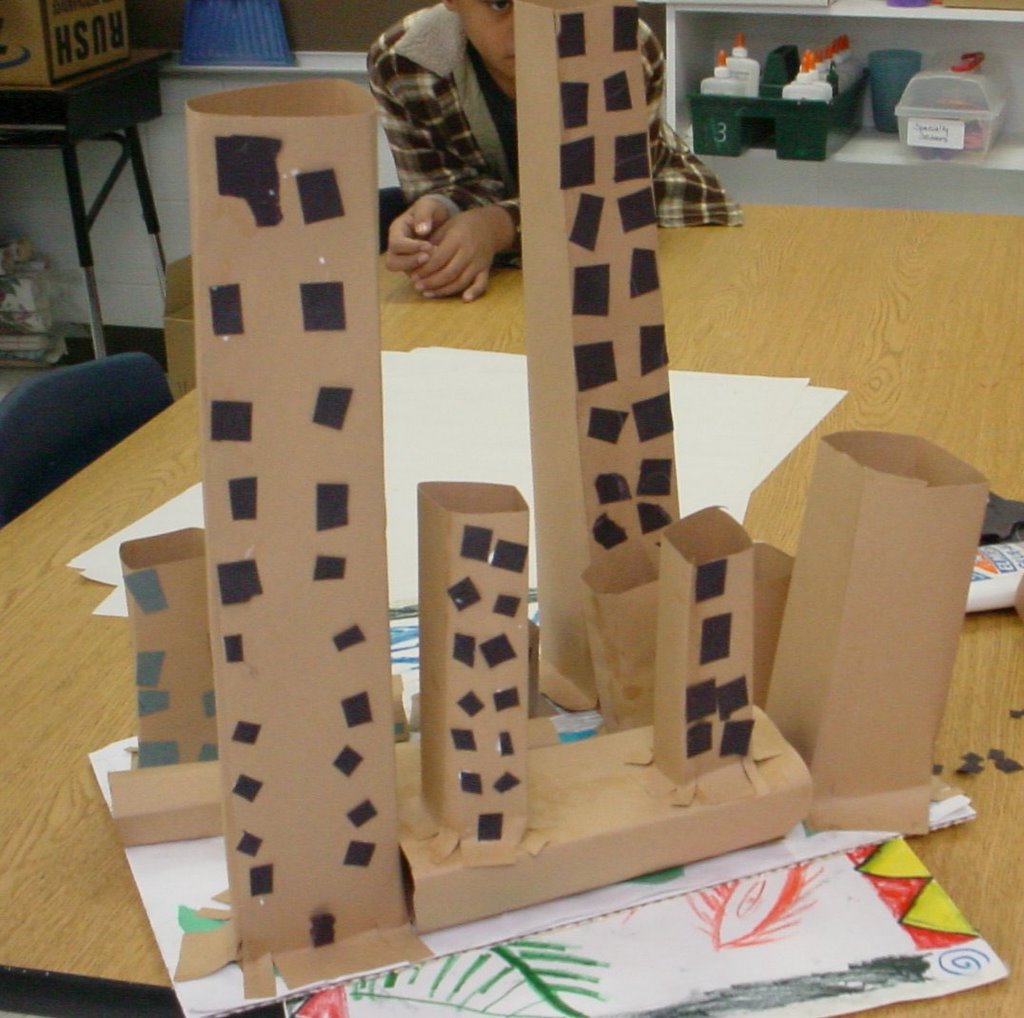
Blake worked for several class periods on his city, carefully cutting out the windows to go on his buildings.

Autumn's House


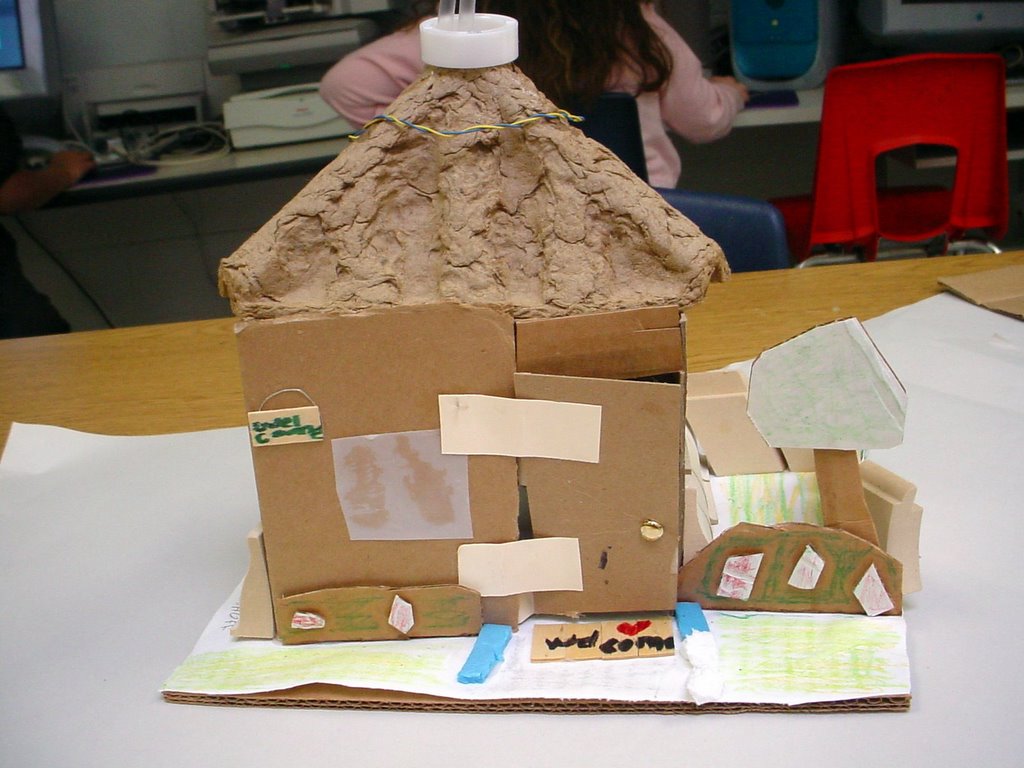
Autumn's house has furniture inside, a gate that locks, and a door with hinges and a working doorknob that latches.

Thursday, December 29, 2005

Cody's Time Machine


Cody worked on this for several class periods. It changed in classification as he added more parts to it.

Printmaking Station


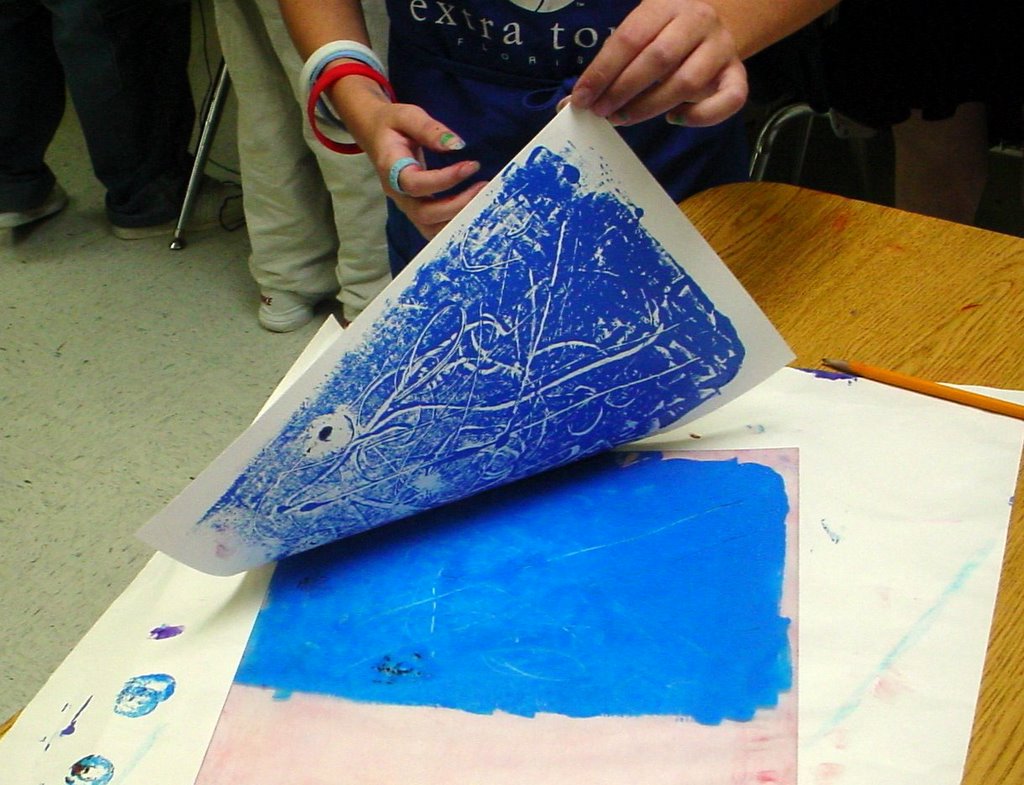
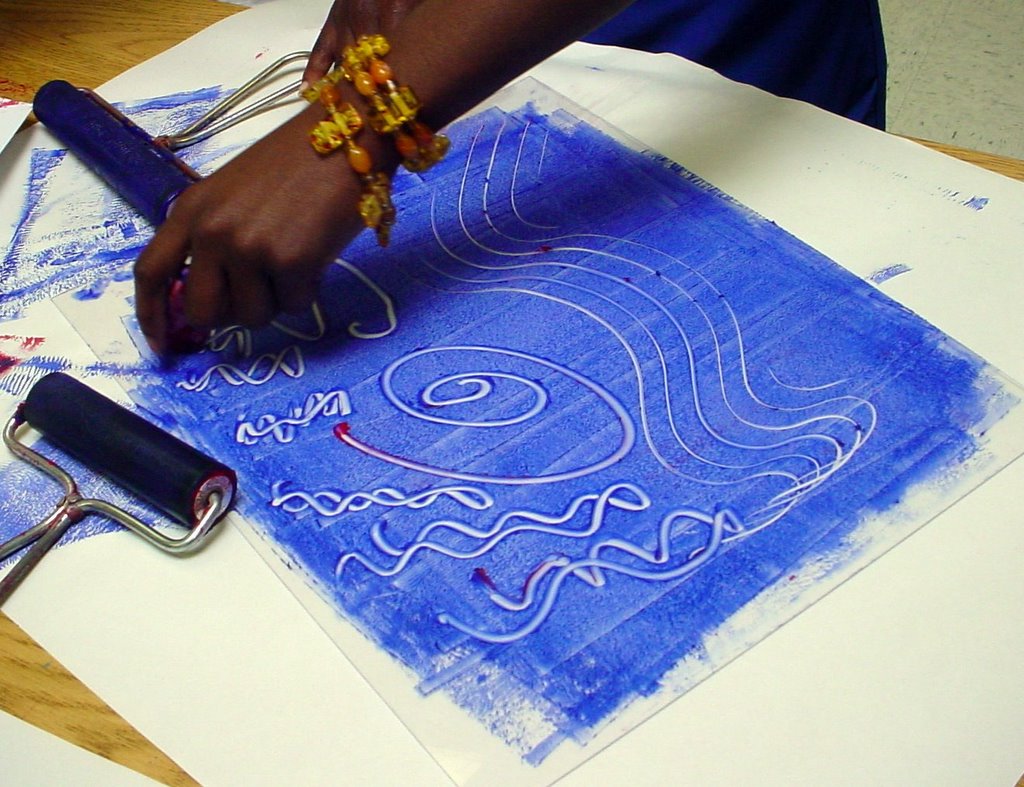
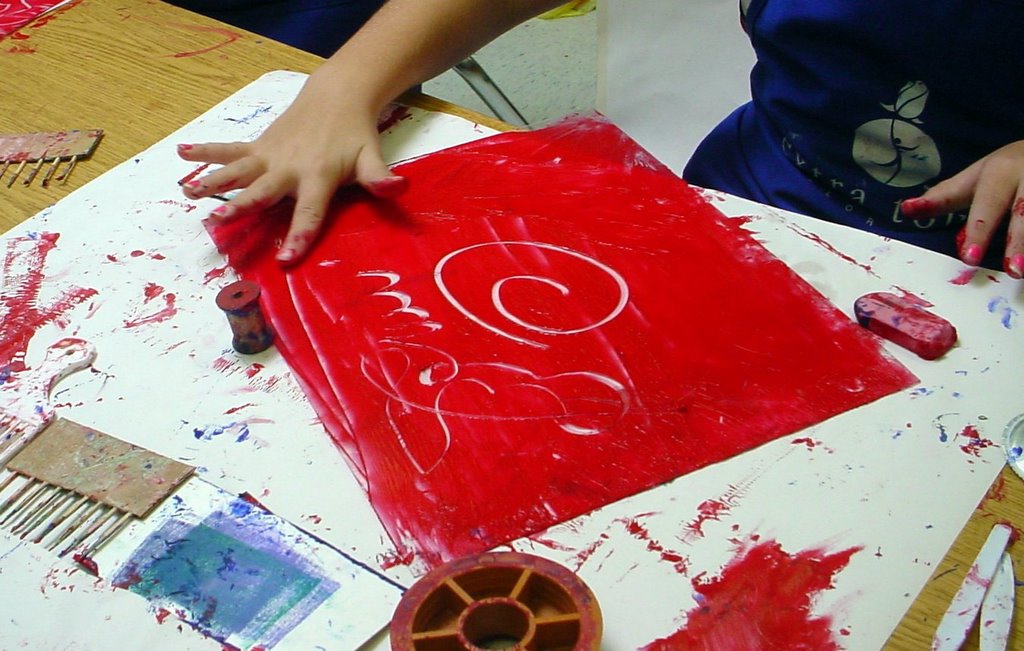
Our sixth station is the printmaking station. Students in third, fourth, and fifth grade have been making monoprints. We use 11 x 14 acrylic sheets as our printing plates. Printmaking ink is rolled onto the plate using brayers, then, using a variety of objects, students create their designs. Paper is carefully placed on the plate, the back of the paper is rubbed gently with the palm of the hand, and the finished print is lifted. This has been a very popular, and messy (!) station.

Riviton

Wednesday, November 02, 2005

Junior architects

 Posted by Picasa

Magnetix

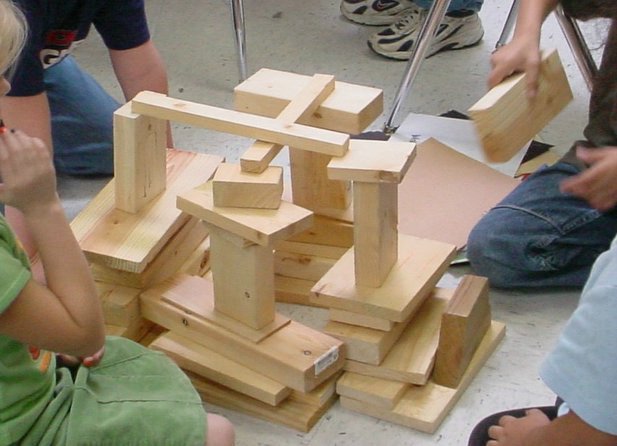
Building with wood


Posted by Picasa

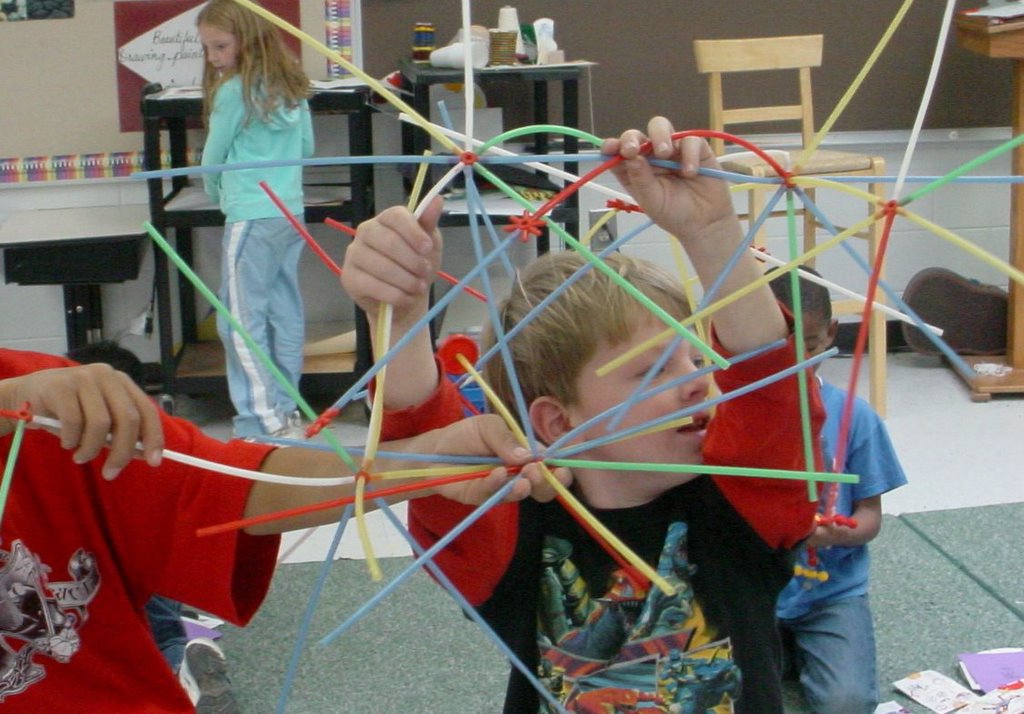
Connecting Straws

Posted by Picasa

Building station

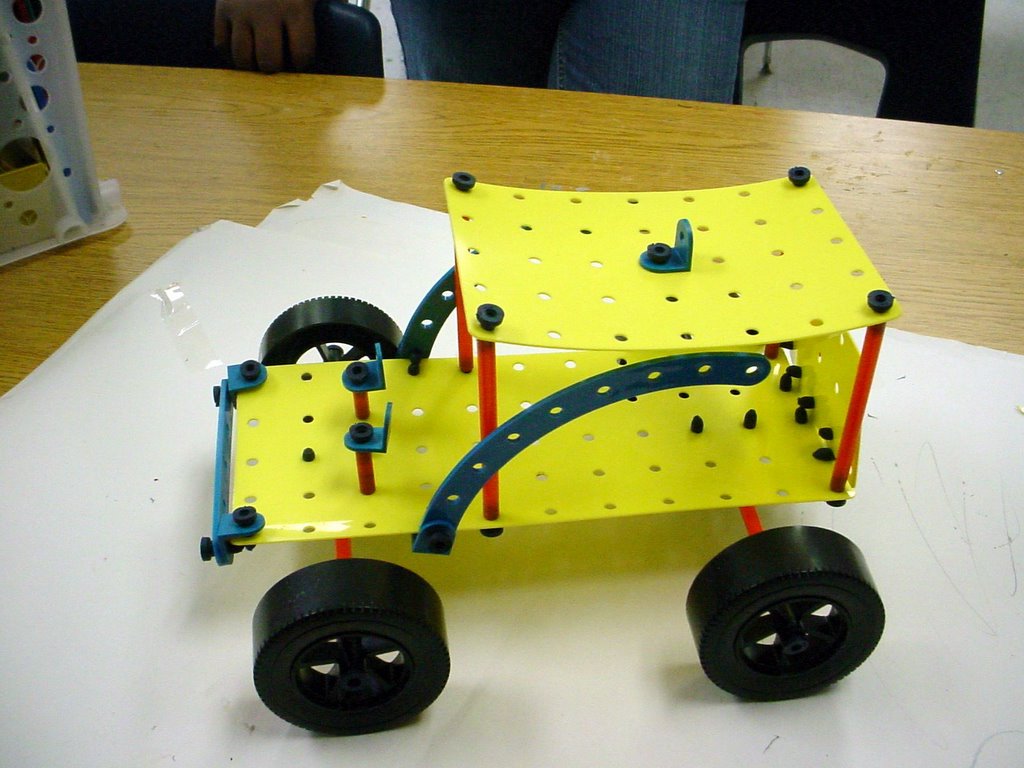
We have a new mini-station. It is a building station-in-a-crate that is equipped with a set of legos, plastic shapes that connect, connecting flexible straws, a junior architect magnetic set, magnetix (magnetic rods and balls), zoobs (plastic pieces that connect and can be movable), rivitons (a set made in the '70's that connects with rubber rivets and can be used to make vehicles), and rig-a-jig (another set from the 70's that has plastic pieces which connect with hard plastic straws). We also have a large box of pieces of wood. When the students use all of these sets, they are using the same skills of building with form that artists use to design sculptures and architects use to design buildings. The students are developing the knowledge of form, function, materials, tools, and structure. They are developing skills such as problem-solving, investigating, choosing, designing, and testing. They work with the concepts of balance, stability, cause and effect, comparison, and scale. They improve their attitudes of cooperation, concentration, and motivation. This is a popular new station.

Weaving station


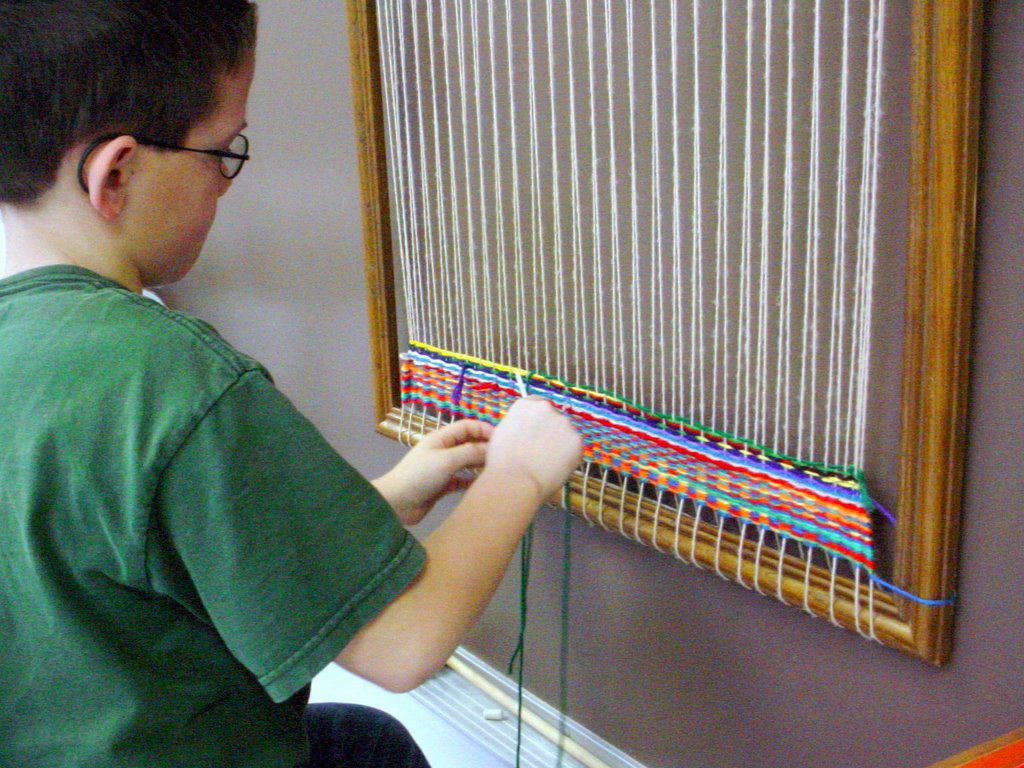
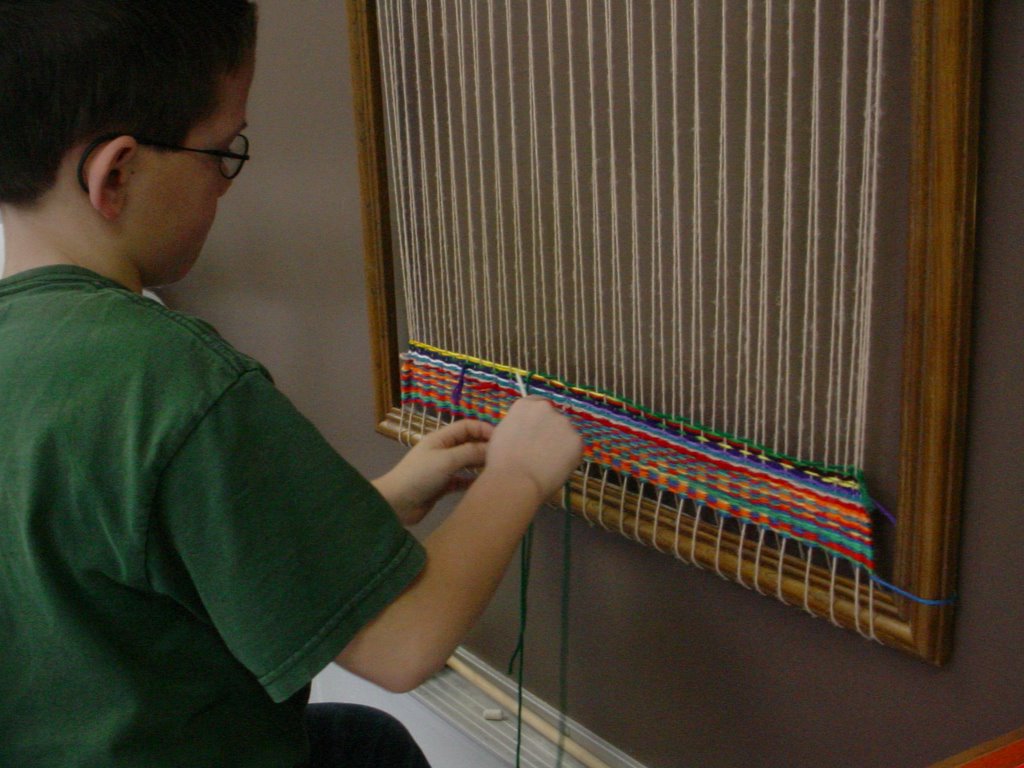
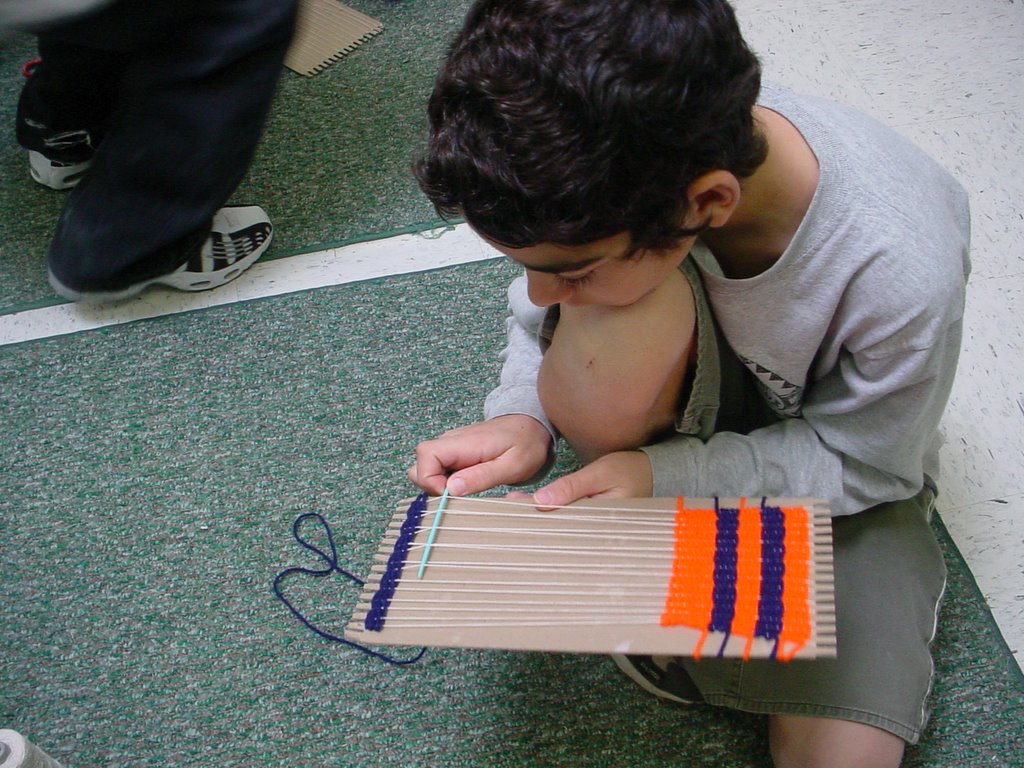
We have a new weaving station for the upper grades. Fourth and fifth grade students can work on rectangular or circular weavings. Third grade students can weave pot-holders on plastic looms, or do circular weavings on plastic cups. They have many choices of color and texture in yarn. We also have a very large frame loom that anyone in these classes or grade levels can weave on. We hope to have a large tapestry weaving to hang on the wall in a few months.

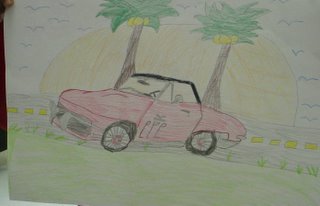
D's sports car

D worked on this sport car for several class periods. After he finished his drawing of the car, he was encouraged to add color and an appropriate background. This wonderful drawing was the result.

Sunday, October 23, 2005

Computer station

We now have three Macintosh computers set-up for the students to use. A drawing program called KidPix Deluxe is on all three of them. They are connected to the internet, so they will soon have interactive art websites for children on them.

Collaborative City Mural

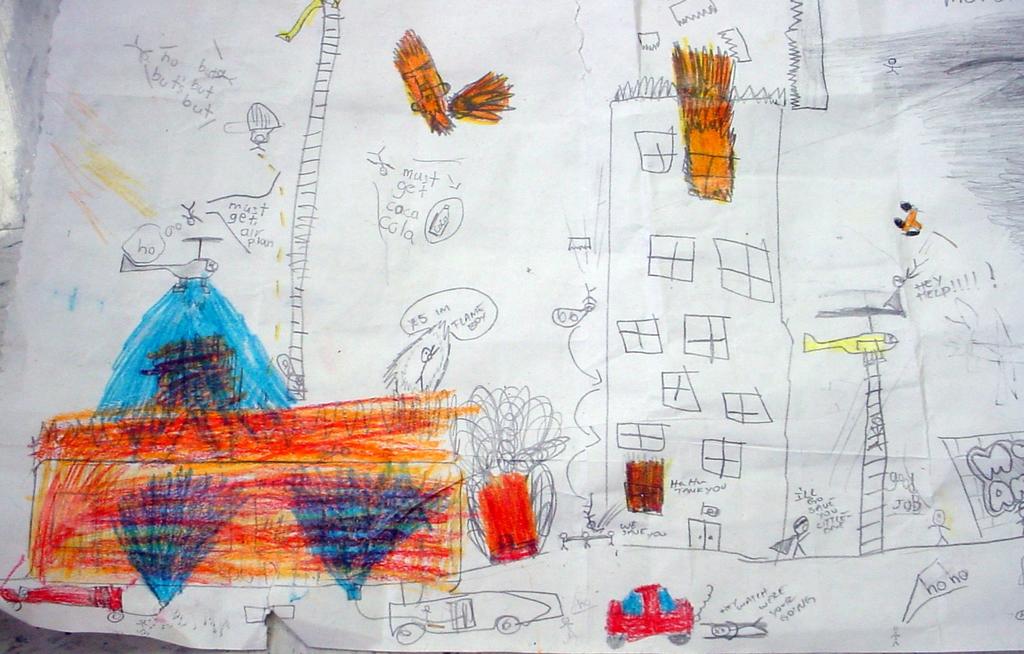
Three students worked together to create this action-packed mural of a city. Can't you just see their brains buzzing with ideas? The two photos attach to form the whole mural.

Jungle mural

Two students collaborated on this oil pastel jungle mural
Posted by Picasa

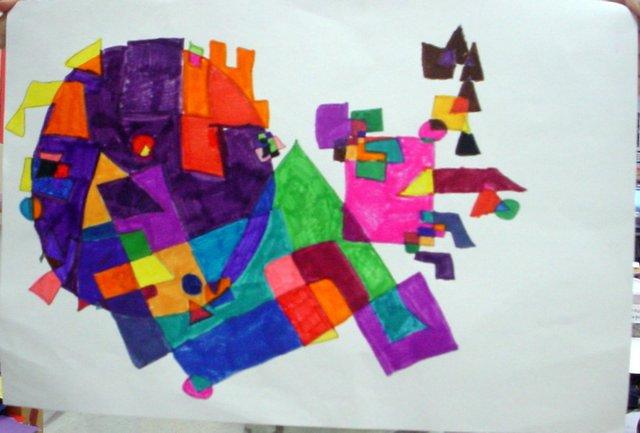
Morgan's non-objective

Morgan worked three class periods on her non-objective composition done with markers.

 Posted by Picasa

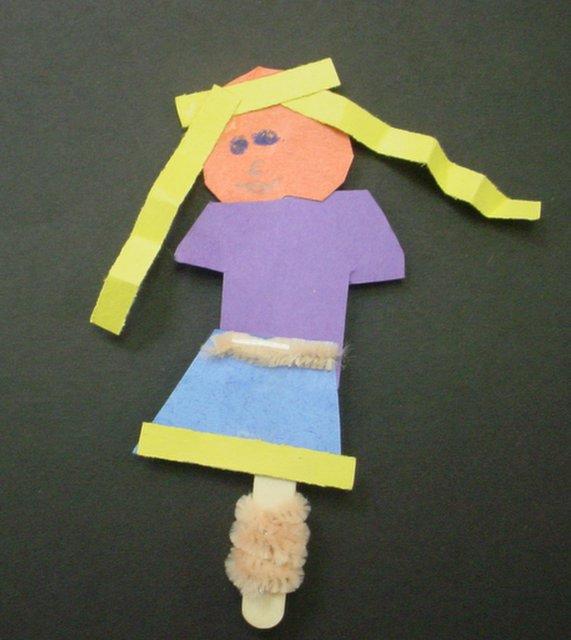
Stick puppet

 Posted by Picasa

Stamping station


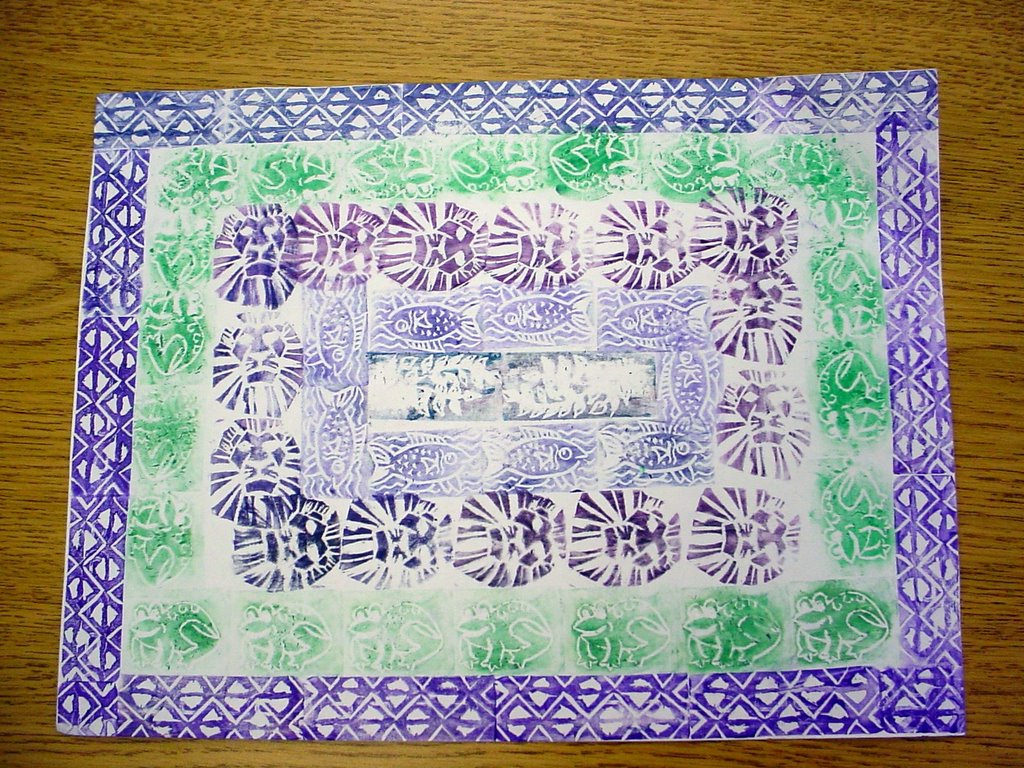
A mini-station was set up for 1st, 2nd, and multiage students. Here they find stamps made by the teacher from artgum erasers and from printmaking rubber slabs. Stamps purchased on the internet have been added, but so far the students prefer the teacher-made ones. The students add color with markers, so one stamp can have multiple colors. Students have been creating frames with pattern, and pictures using the shapes.

Cardboard Construction

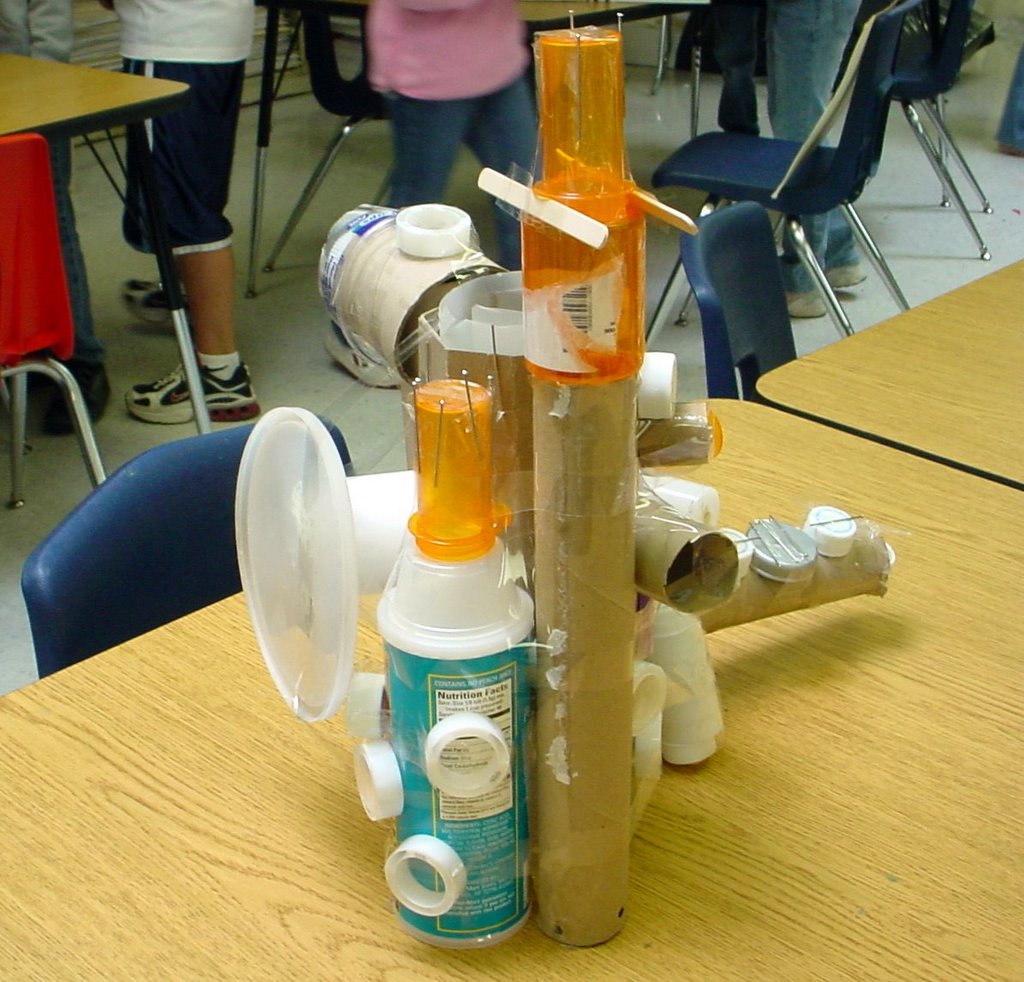
The cardboard construction station has been opened for 3rd, 4th, and 5th grade students. They were shown a slide show of two contemporary artists who work with cardboard: Andre Villers and Eric Strawcynski. The students were given only cardboard tubes and pieces of cardboard and glue to work with. Scoring carboard was demonstrated so that they could get a good corner. The students who chose this station immediately started building three-dimensional forms, which was amazing, since the two artists that had been introduced worked primarily with flat pieces, making large figures and masks.

The next time that the students came to art many more interesting forms and fasteners had been added: brads, wire, hole punches, tacky glue, glue gun to be used by the teacher if a student had tried everything else, small boxes, many small plastic containers, film canisters, prescription bottles, plastic lids, and some sheets of mylar. One student, Cody, created an octagonal shower with a very realistic water heater attached! He and some other students are creating a large house together. Another boy in two class periods created a two story house complete with stairs! These students are amazing! I thought that I would have mostly boys interested in this station, but in one class, all girls were working there. A lot of boys are busy currently doing very detailed drawings of dragons, or cars, or working collaboratively on a mural with a complete story line.

Saturday, October 22, 2005

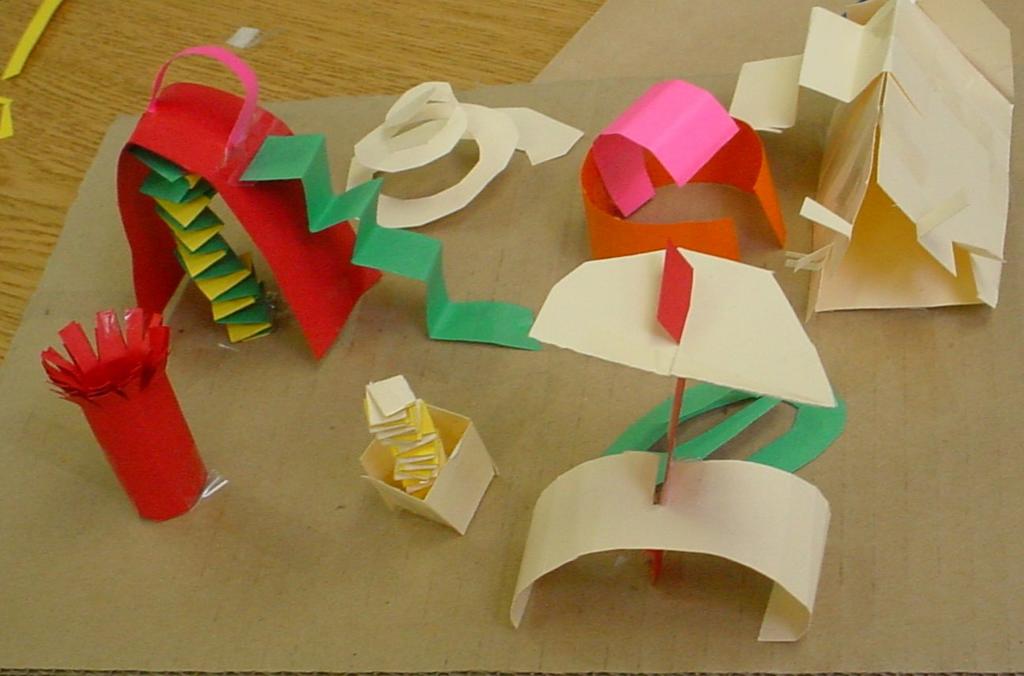
One-piece sculpture

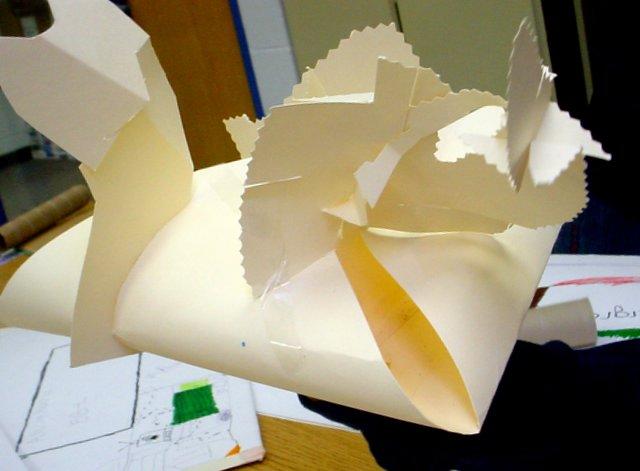
Using all of one-piece of tagboard and creating a form by cutting, bending, and connecting with slits was demonstrated. Posted by Picasa

Paper Sculpture


Students have learned many ways of making paper forms


Sunday, October 02, 2005

The Fourth Station - Paper Sculpture

The fourth station was opened this week for 3rd, 4th, and 5th grade students. Methods for using paper or card stock to create three-dimensional forms were demonstrated, as well as displayed on a poster. This station is supplied with staplers, tape dispensers, masking tape, a long-reach stapler, scissors, glue, corrugated cardboard for bases, colorful card stock, and multiple pieces of tag board. We had a discussion of using the forms to create something recognizable, as well as making non-objective sculptures.

When some of our new supplies arrived, stick puppets were added as an option for multiage, 1st, and 2nd.

Still Life set-ups

Students use objects from our still life table as inspiration for drawings and paintings.

Cody's Bridge

Cody visited the Royal Gorge in Colorado during the summer. He has made a series of drawings and paintings on this theme. Artists get their ideas from their experiences.