Sunday, November 05, 2006

More Stations


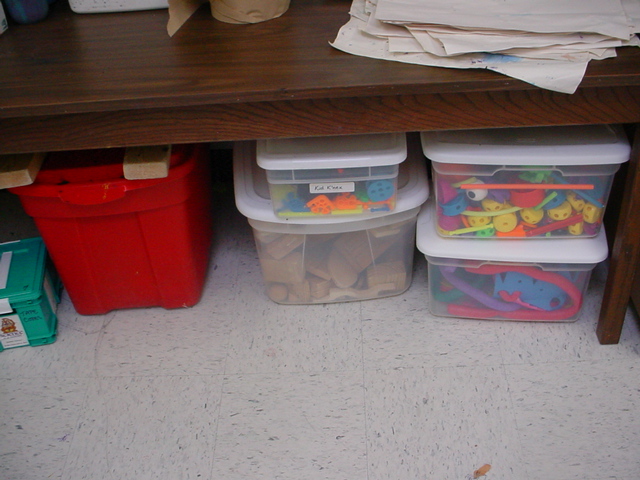
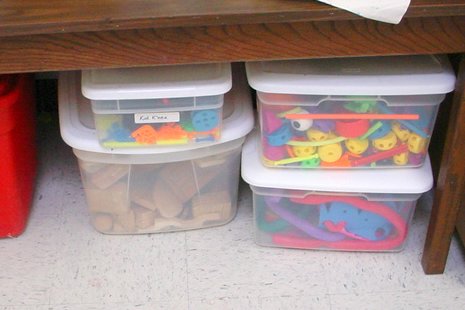
These two photos show the many varieties of construction sets and
manipulatives in our "building" station
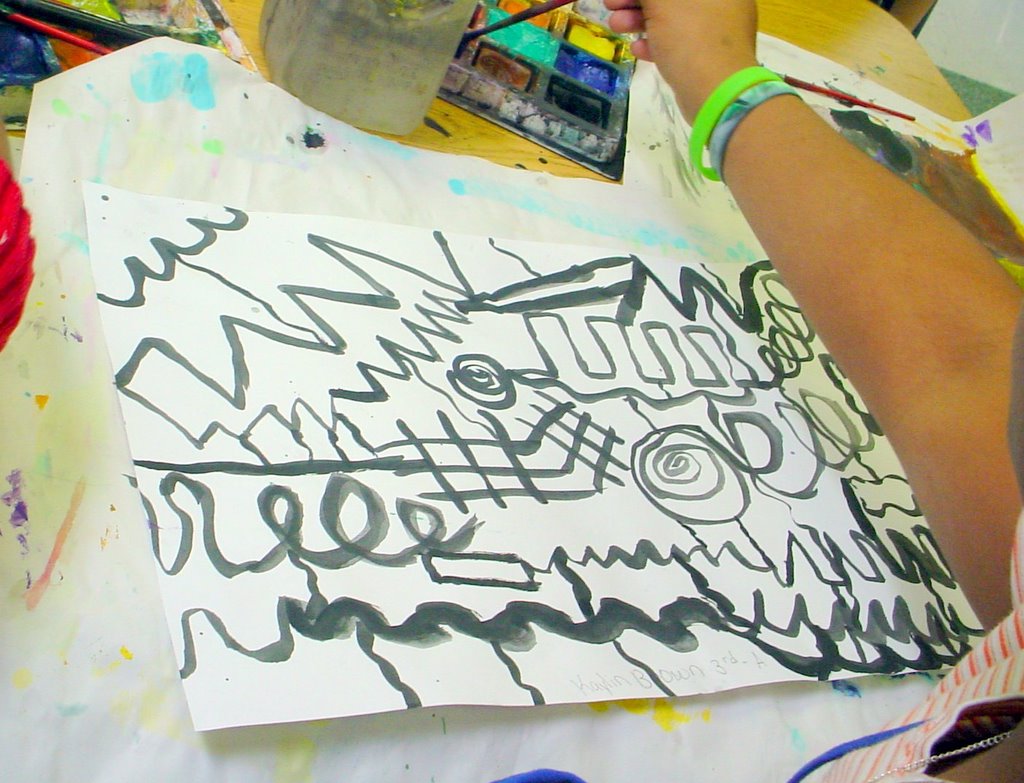
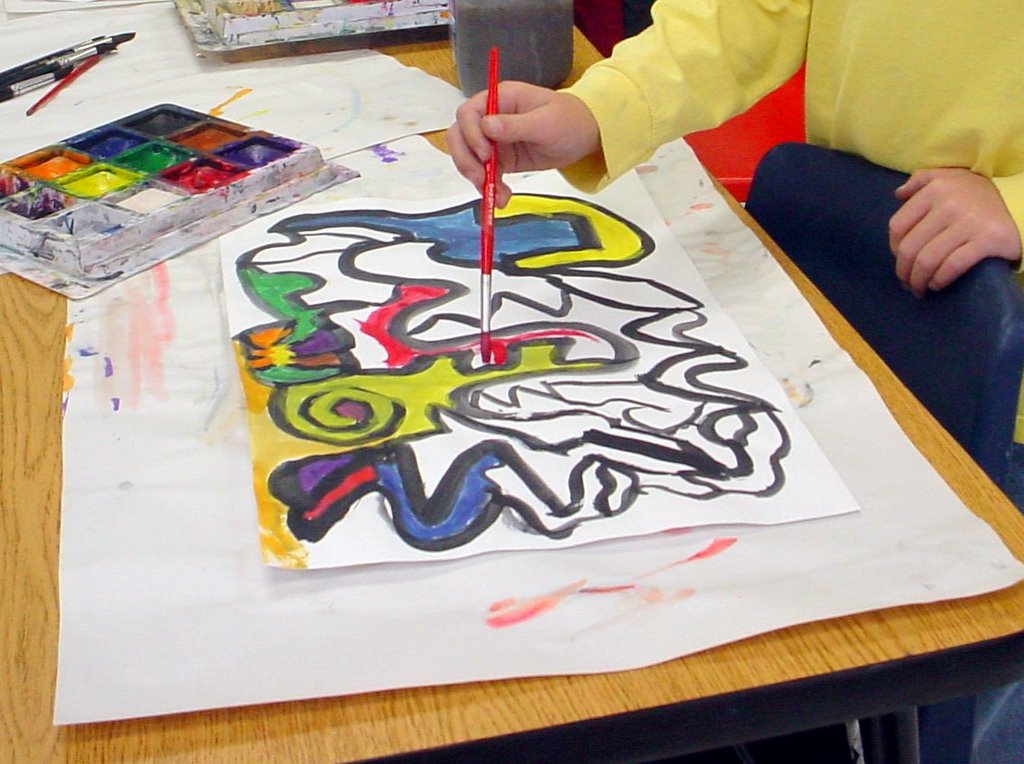
Painting station, which has watercolors, liquid tempera, and tempera blocks
Word wall and reading station, with many books on master artists

Stations

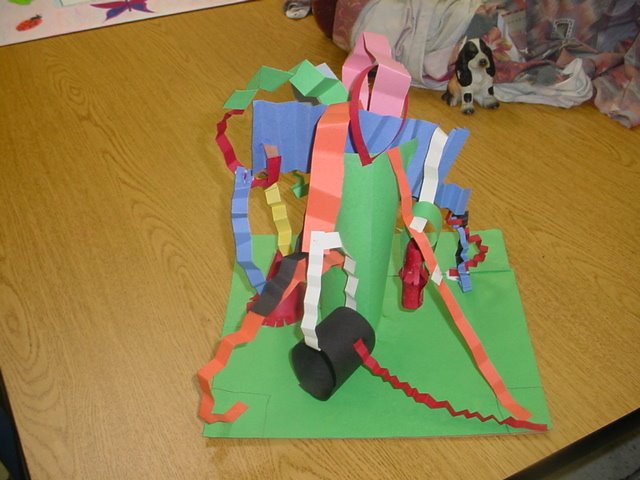
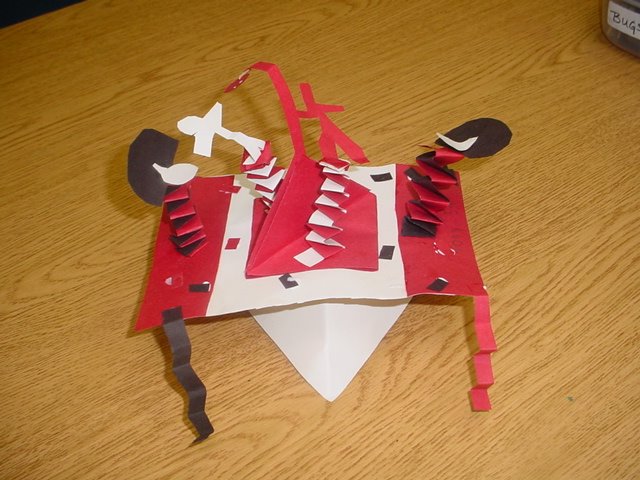
Three-dimensional paper sculpture Our still-life materials for drawing or painting
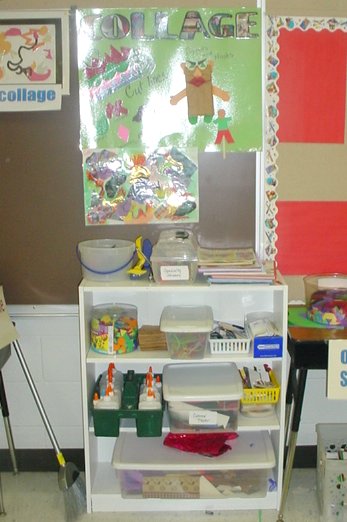
Collage, puppet, and mask-making station
Our drawing station with a large variety of drawing materials, objects to draw, drawing books, textured rubbing materials, and a picture file
Our weaving station

Some of our parents never have a chance to visit our art room. I thought that they might like to see the set-up of our stations.

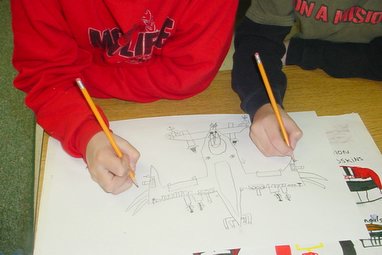
Collaborative Super Jet

Who would have thought that making a detailed jet plane could be a collaborative project?! Only two very creative students! Posted by Picasa

Kindergarten Masks

These kindergarten students enjoyed making paper masks with different personalities. Posted by Picasa
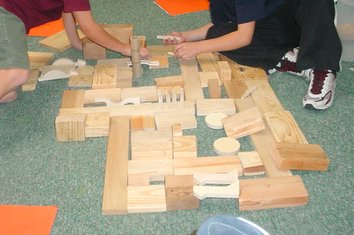
Castle Complex

These boys created quite an elaborate castle complex with moats and bridges, using extra shapes from wooden die cuts. Posted by Picasa
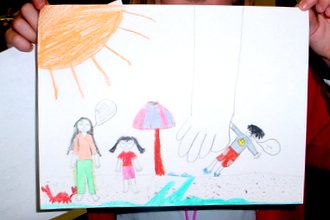
Giant Hand

I don't know the significance of the giant hand, but just think of the possibilities! And check out the blue shadow! Posted by Picasa
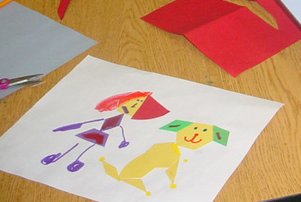
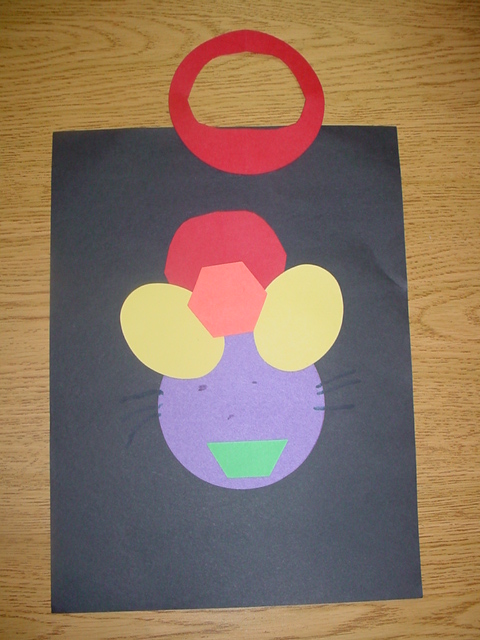
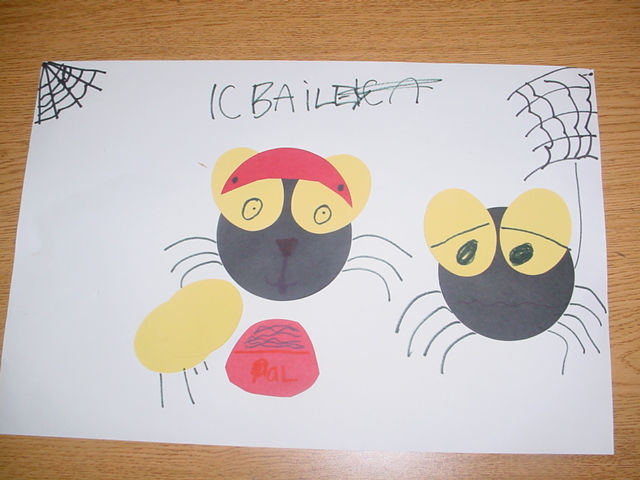
Shapes Collage


First grade students have been using pre-cut shapes to form collages. The first student made a girl and her dog. The second one made a mouse, then made a handle to carry the picture. The third student made spiders with clever expressions.

Sunday, October 08, 2006

Paper Sculpture Station

Roberto's spring man


Blake's freeform sculpture


These students enjoyed making geometric forms out of paper and creatively adding details to them.


Tony's sculpture

Sunday, October 01, 2006

Drawing Large on the Dry Erase Board

Students in the lower grades enjoy being able to draw a large composition on the dry-erase board on my easel.

Saturday, September 30, 2006

Collaborative Mural

Many of our students like to work together. These two boys spent many days last spring working on their ocean mural, using oil pastels and cut paper. Posted by Picasa
Conceptual Building Center

Over the summer I found many new items that I could add to the building station, where students create conceptual designs in three dimensions, then take them apart and create again. The new sets are K'nex and Kid K'nex, wooden Tinker Toys, plastic Tinker Toys, another set of Constructo-Straws, so that students can make bigger constructions, Space Links, Bristle Blocks, a plastic Erector set, another set of magnetic rods, and Toobers, and Zots. I also added a set of small people, furniture, and animals so that students could add these to their buildings.


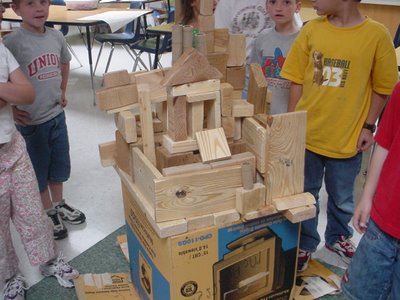
A lot of the students like the large building blocks, which are really just sanded pieces of scrap lumber (they like to help me sand them), but these students decided to build their castle on the bottom of the box that the blocks were stored in!
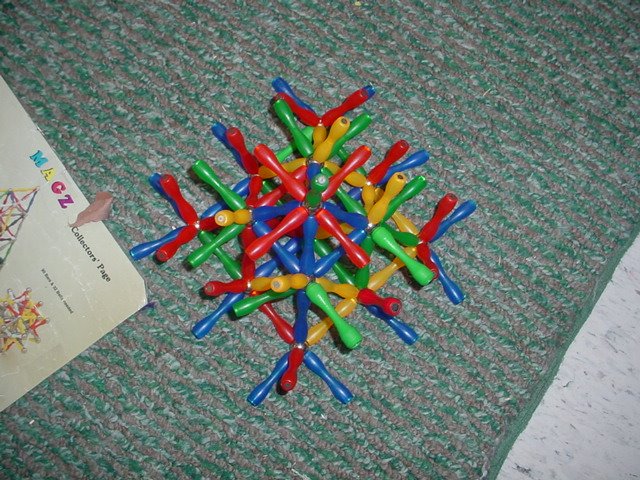

Students like the magnetic rods so much that I got a second set this summer.
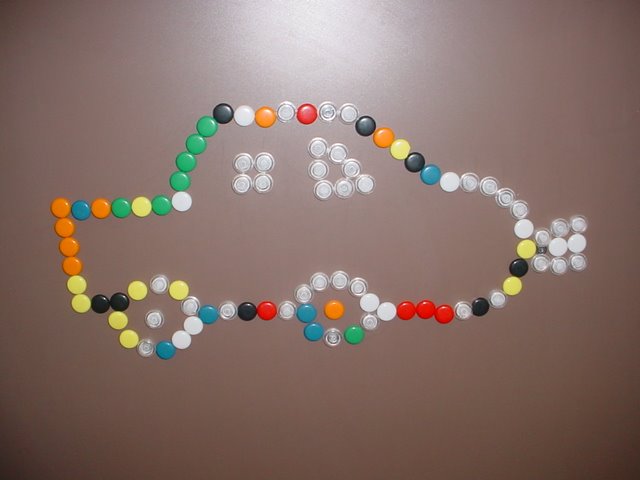
Students like to use magnets on the chalkboard to create outlines, or contour line.
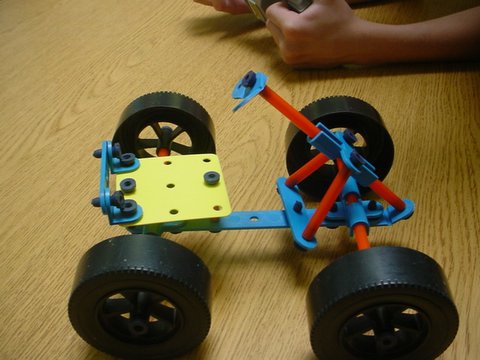
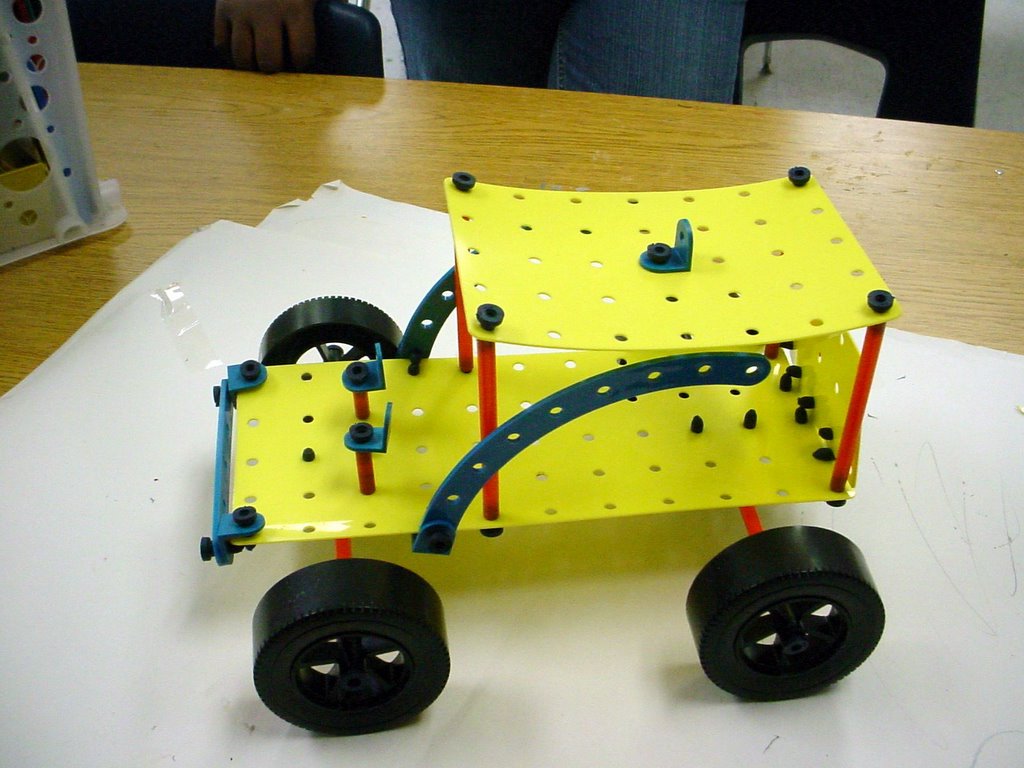
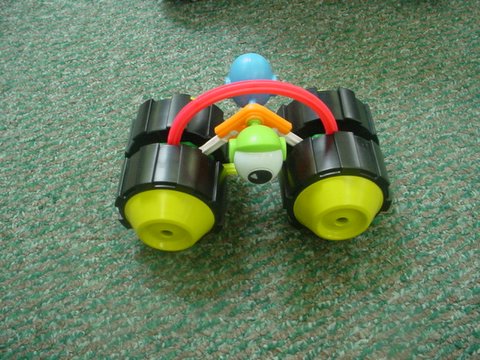
Students use the Riviton set to create objects with moving parts, and use problem-solving and engineering skills. Posted by Picasa
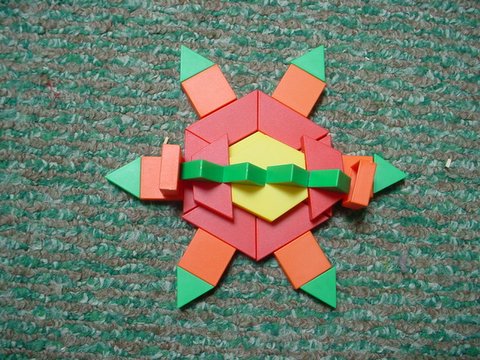
Pattern Blocks

 
The student who made this would be well-served to try to create the same design in paper. Trying new designs, and trying and trying again is why we have a station for conceptual art. Posted by Picasa

Collaborative Collage

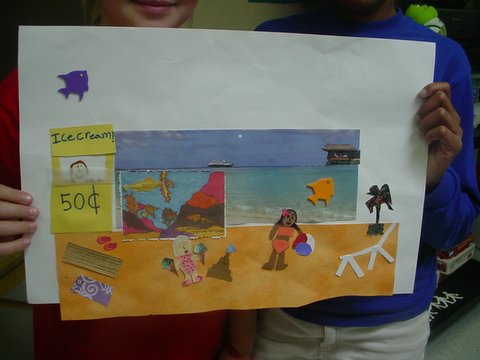
Two girls worked on this well-thought-out collage together for several days, carefully searching for just the right items to add to their beach. Posted by Picasa
Our Second Year as a Choice Art room

This year is going very smoothly. Many of the students were already accustomed to the routine in our studio. They fell right in to the routine of making their own choices of materials and subject matter. We began the year with a discussion of where artists get their ideas, but I found that many of them were all ready with ideas that they had thought of during the summer. They are not nearly so hesitant this year to strike out on their own.

They were anxious for the stations to open, but I have opened them slowly. At each one I wanted to teach them additional techniques, as well as offer additional materials. In the upper grades, we have drawing, computer graphics, collage, paper sculpture, weaving, conceptual building in 3-D, and painting stations open so far. In 2nd grade, we have drawing, collage, computers, clay, stamping, painting, large drawing on the dry-erase easel, and building in 3-D open. 1st grade students have just learned that they can make choices in our art studio, as a real artist does. They may choose between drawing, computers, clay, stamping, building, and drawing on the dry-erase board.

Kindergarten students are new to our specialties rotation this year. I have not yet introduced to them the concept that they can make a choice, but I am rotating many different materials between their tables: drawing materials, stencils, clay, stamps, and three-dimensional building sets. I plan to ease them into the concept of making a choice, but each group always has the choice of drawing rather than the other activities, and so many of them are fascinated with my variety of drawing materials, that they choose that over the other activities.

Friday, March 10, 2006

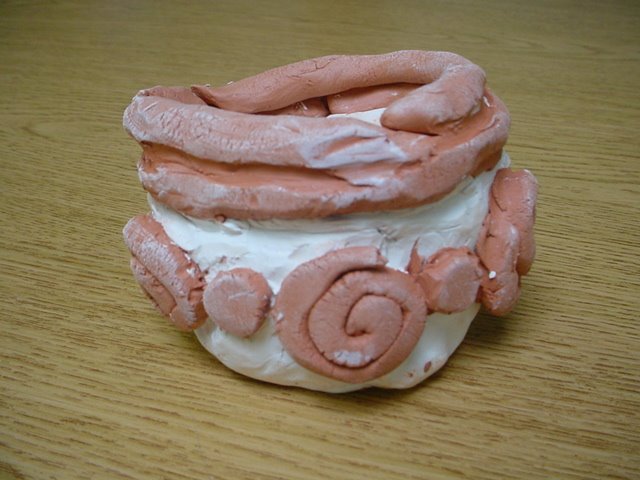
Clay Station

Clay was added as a station in the spring in 3rd, 4th, and 5th grades. Techniques were demonstrated, then the students chose their subject matter. The clay was then fired in the kiln. Some students used acrylic paint to add color.
One of the techniques demonstrated at the clay station was building by coils. This student added coils to a pinch pot to create this unique pot. The other techniqes demonstrated were pinch and pull, and additive sculpture. This student used both coiling and additive techniques to add the decorations on the pot.

Sunday, February 12, 2006

Puppets and Dolls Station


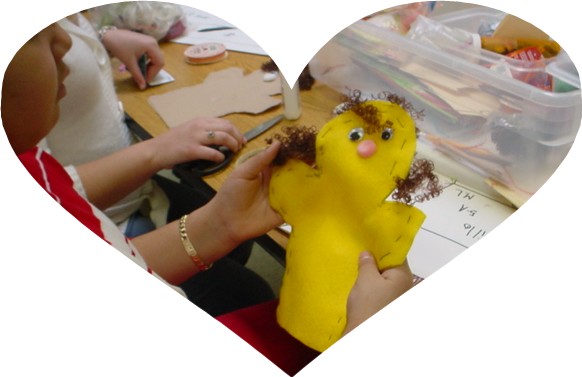
We have a new station in which we can make hand puppets, sock puppets, or dolls. We are learning how to thread a needle, knot the thread, cut fabric from a pattern, and sew a running stitch.


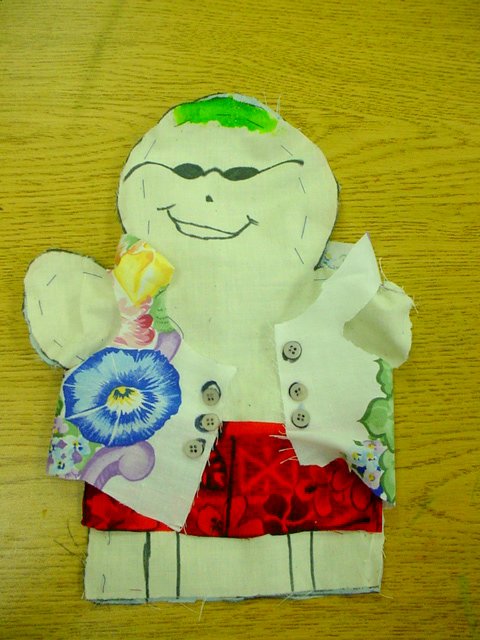
The student who made this puppet gave him sunglasses, a pair of shorts, and a vest with buttons.

Artist Study

One of the reasons given by the students for making art is to become an artist who makes a living by making art work. We took our discussion of "why make art" one step further and began to study master artists. For several class periods we discussed Picasso. We viewed his abstract art, his realistic art, his ceramics, his cubism, and his one-line drawings. Our younger students even learned a song about Picasso.

We have been learning new techniques at the painting station, such as wet-on-wet, splatter, dry brush, and layering thick paint. All of these techniques led us to a study of the French Impressionist painter, Claude Monet.

Sunday, January 08, 2006

Why Make Art?

As soon as the winter break was over I began a discussion on why people make art now or have made art in the past. I have a tablet in which I am recording the ideas from each class. We are spending five minutes at the beginning of each class, then go to work making art. I'm planning on posting some of the most clever responses.

Creative Santa


This is an inventive way to make a Santa using our recycled materials!

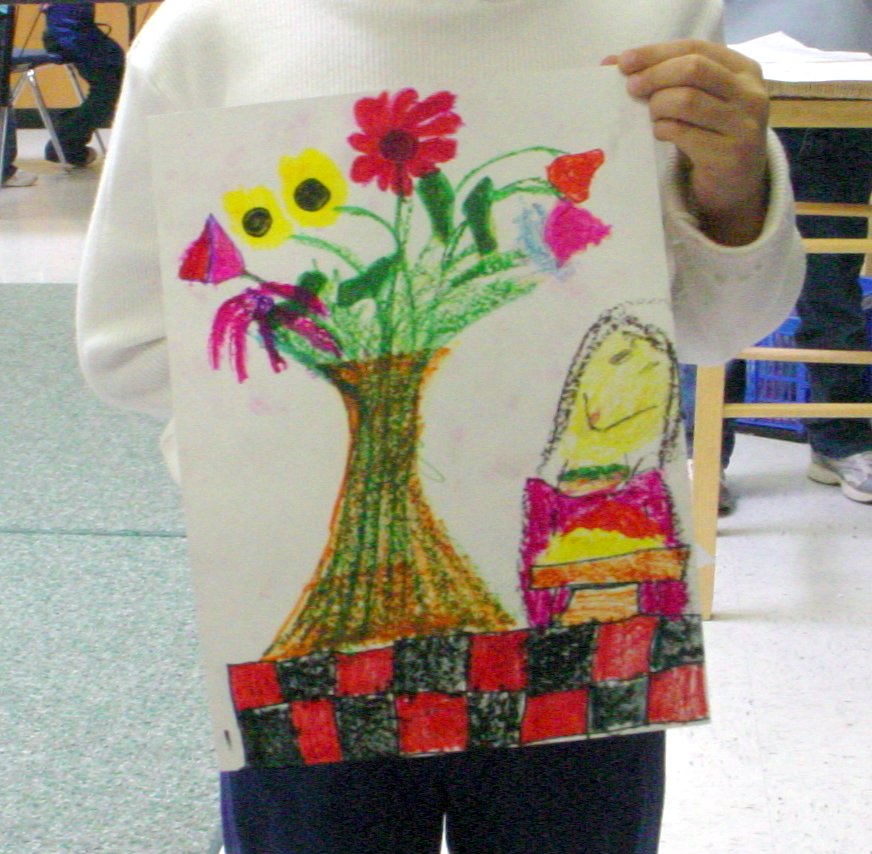
Hands, Head, and Heart

This student created her heart-felt art using oil pastels.
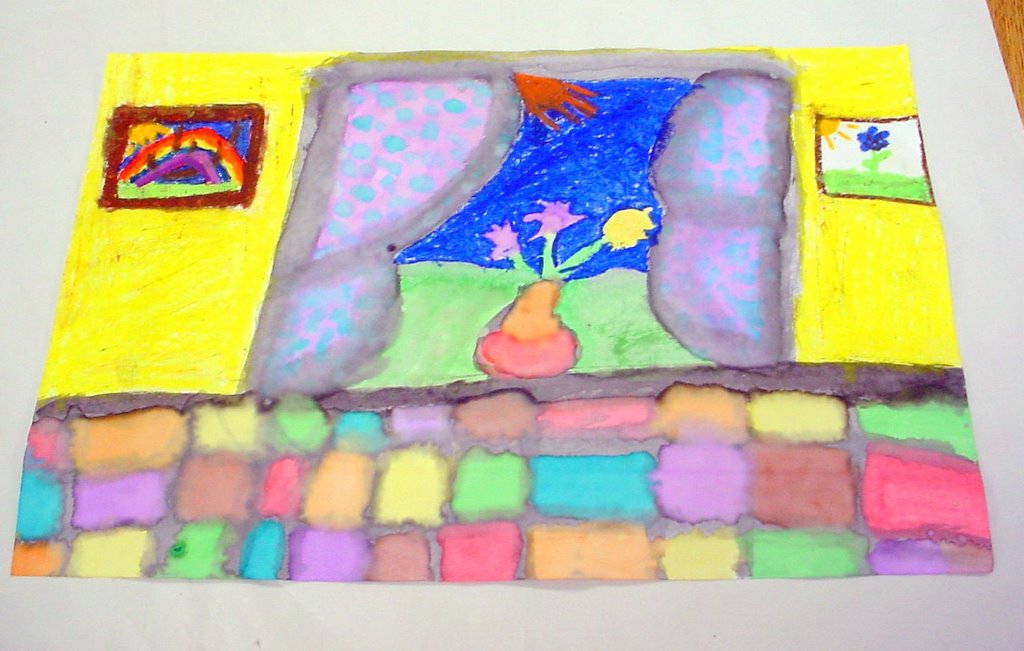
This student has demonstrated the concept that if you use your hands, head, and heart to make your art, then you are a true artist. She used tempera paint and oil pastels in this mixed-media picture.

Painting Instruction


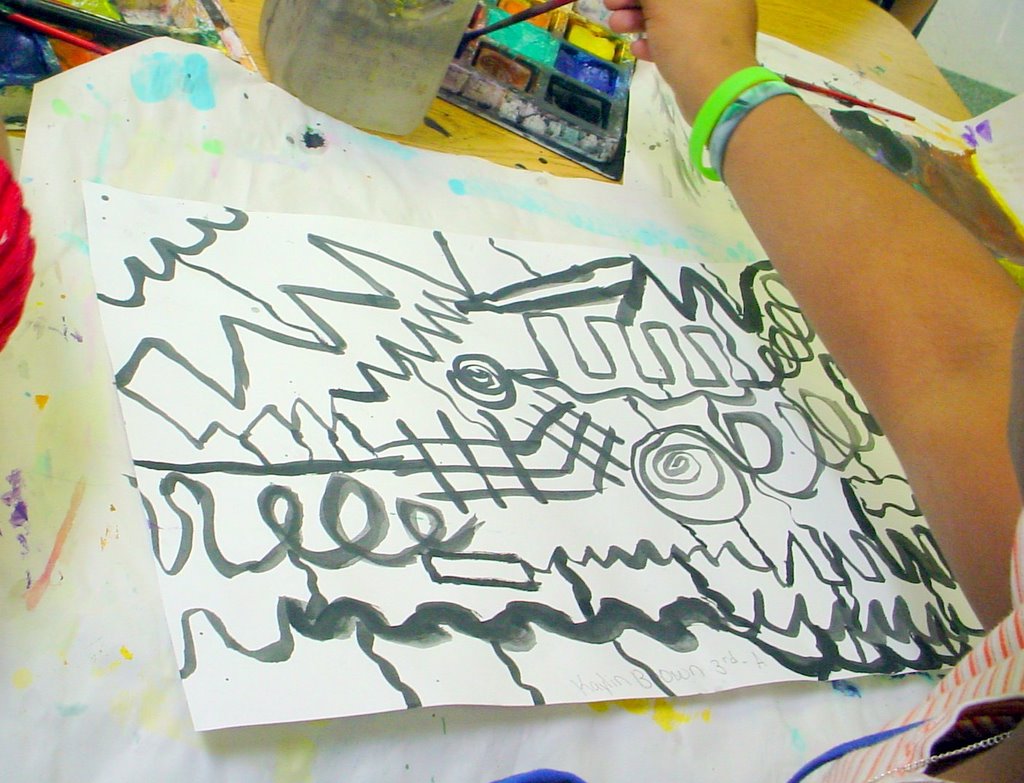
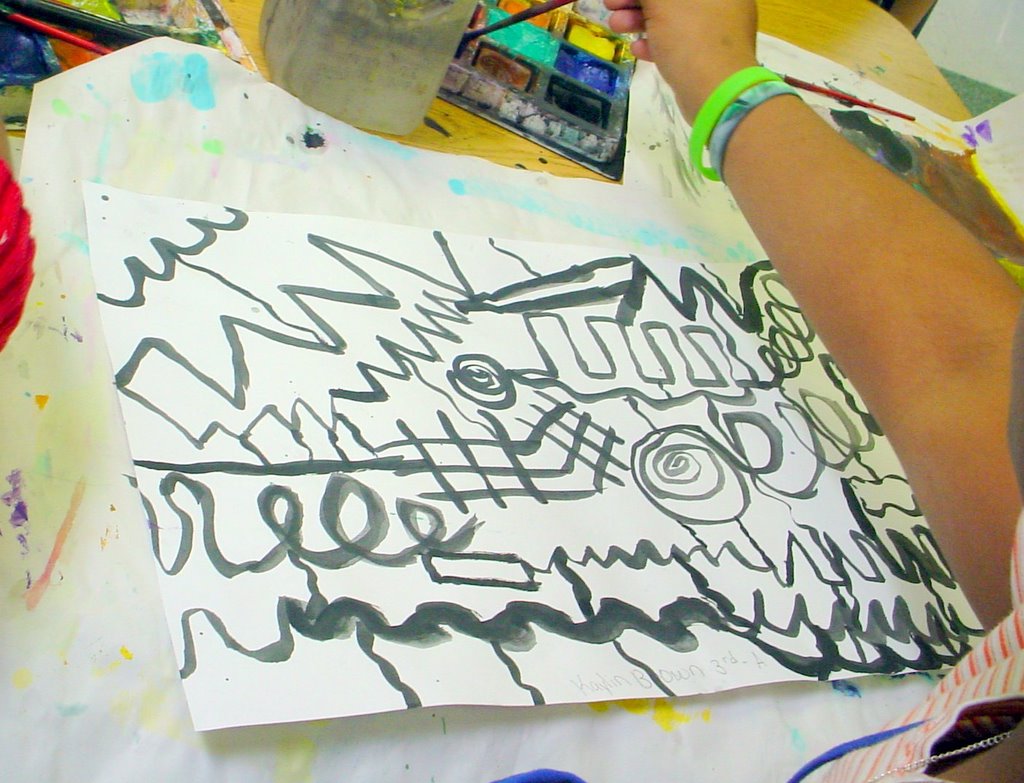
I decided that we needed some instruction in painting in third, fourth, and fifth grade. I chose to use an idea from a book by Cathy Weissman Topal called Children and Painting. I set up all of the tables for painting. We discussed thick and thin lines, and listed a variety of decorative lines such as zigzag, wavy, looped, crenellated, scalloped, broken, dotted, spiral, and even have some that we made up and call tepee lines and mousehole lines. Each student was to use a large brush and black paint and scatter eight different thick and thin lines across their paper. Then they used a smaller brush to connect the lines so that their paper was divided into shapes and spaces. Afterwards they filled in the shapes with color. This is the only lesson so far that we have done as a group since we began choice art, but I think that it was effective. We had discussed the non-objective style of art before, but I think that the students have a better understanding of how to create it now.

Friday, December 30, 2005

The Creative Process Menu


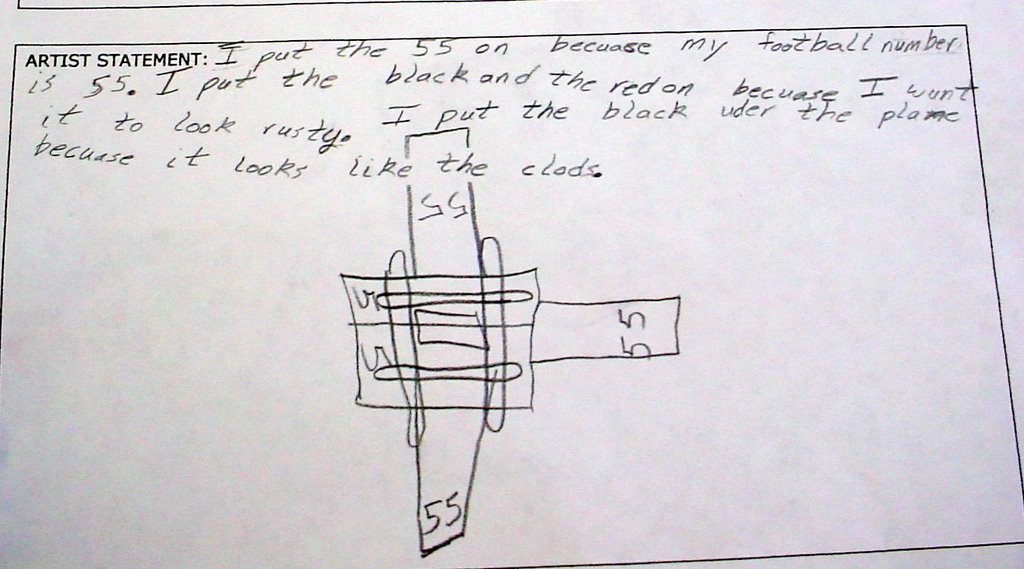
Before the winter break, we spent a couple of weeks discussing the steps used by an artist in his or her creative process. I like the words used by one of the other TAB-Choice teachers in hers, so I borrowed it. First we Explore (all of the stations and the materials available), then we Plan (what we want to make and what materials we will use), then we Create (the actual making of the art), then we Refine (look at our art to see if it needs anything else or if we need to make any changes), then we Reflect (this is when we write our artist statements). One of my goals this year has been to have the students reflect on what they have created and document it in an artist statement for every piece of art that they make. I think that this will help them to remember the steps in their creative process and then build on what they have learned in this piece on each new piece of their art. This is what I hope every student can take away from art: to know that they are creative thinkers who can solve, decide, create, and learn on their own. I think that this will also help them to realize the importance of their art work. In their artist statements, I ask them to document the steps that they took or tell the viewer what they were thinking about as they made their art work. If their art work is three-dimensional, I also ask them to draw a picture of it to have a record in their portfolios. Three-dimensional art must be taken home when it is completed because of our limits on storage in the art room.

Tyler's airplane is an example of a finished product that shows careful planning, refining, and reflecting.

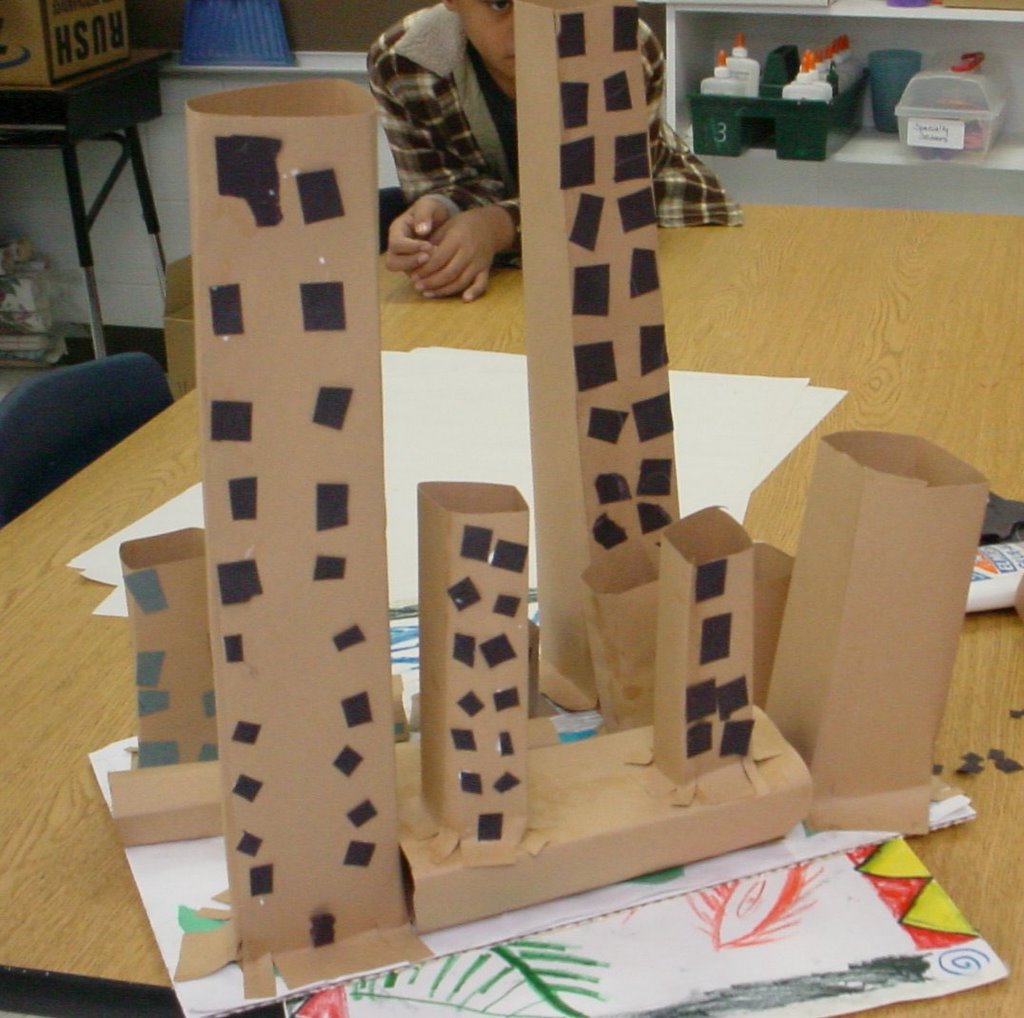
Blake's City


Blake worked for several class periods on his city, carefully cutting out the windows to go on his buildings.

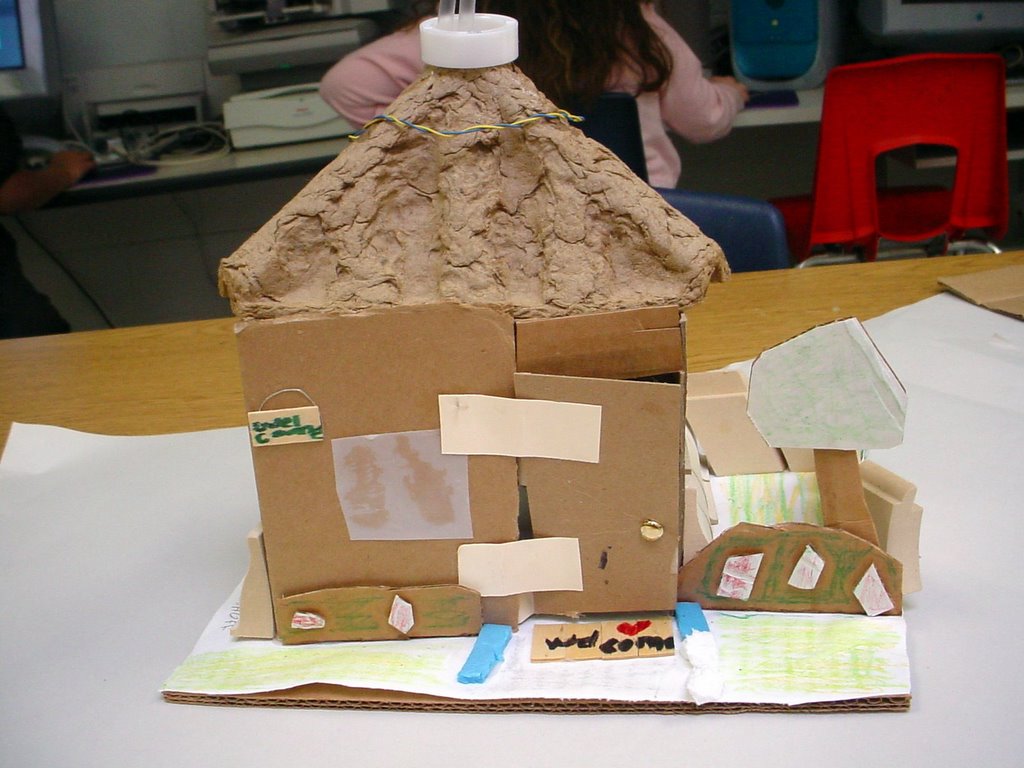
Autumn's House


Autumn's house has furniture inside, a gate that locks, and a door with hinges and a working doorknob that latches.

Thursday, December 29, 2005

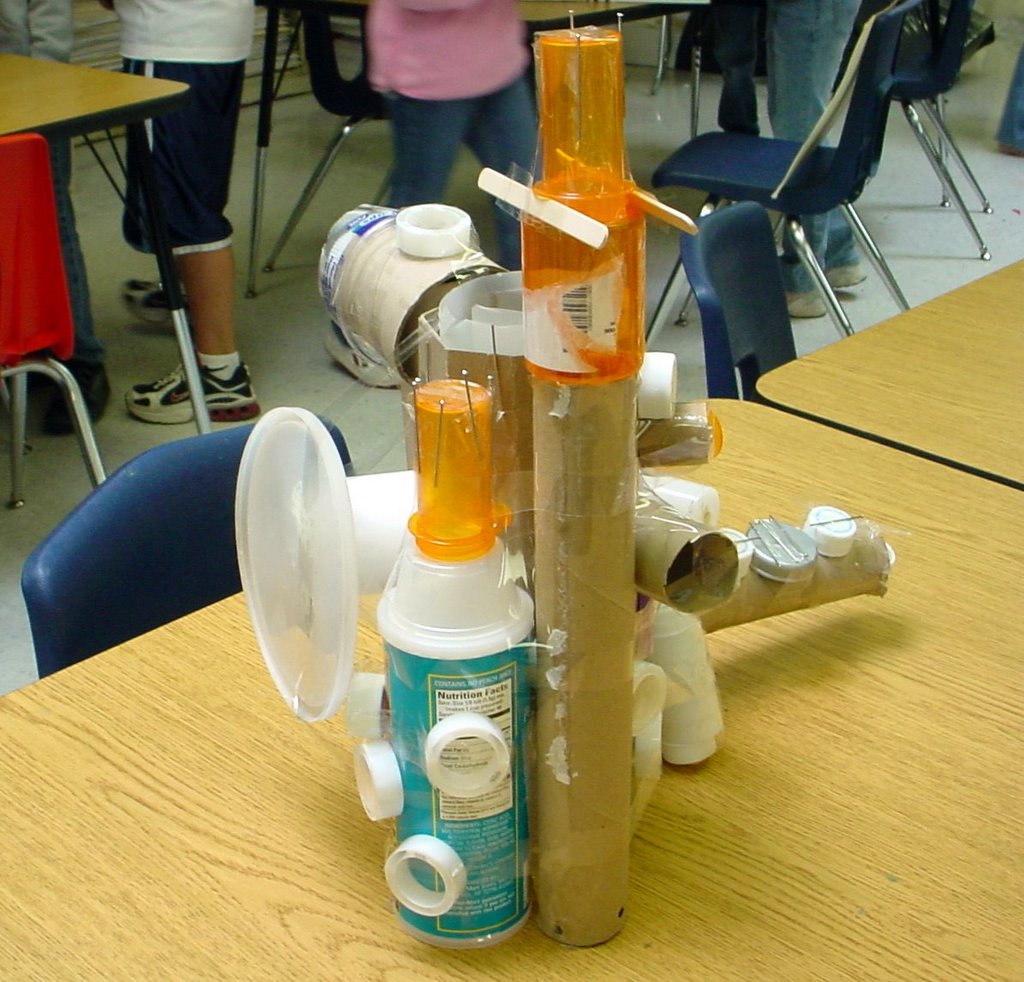
Cody's Time Machine


Cody worked on this for several class periods. It changed in classification as he added more parts to it.

Printmaking Station


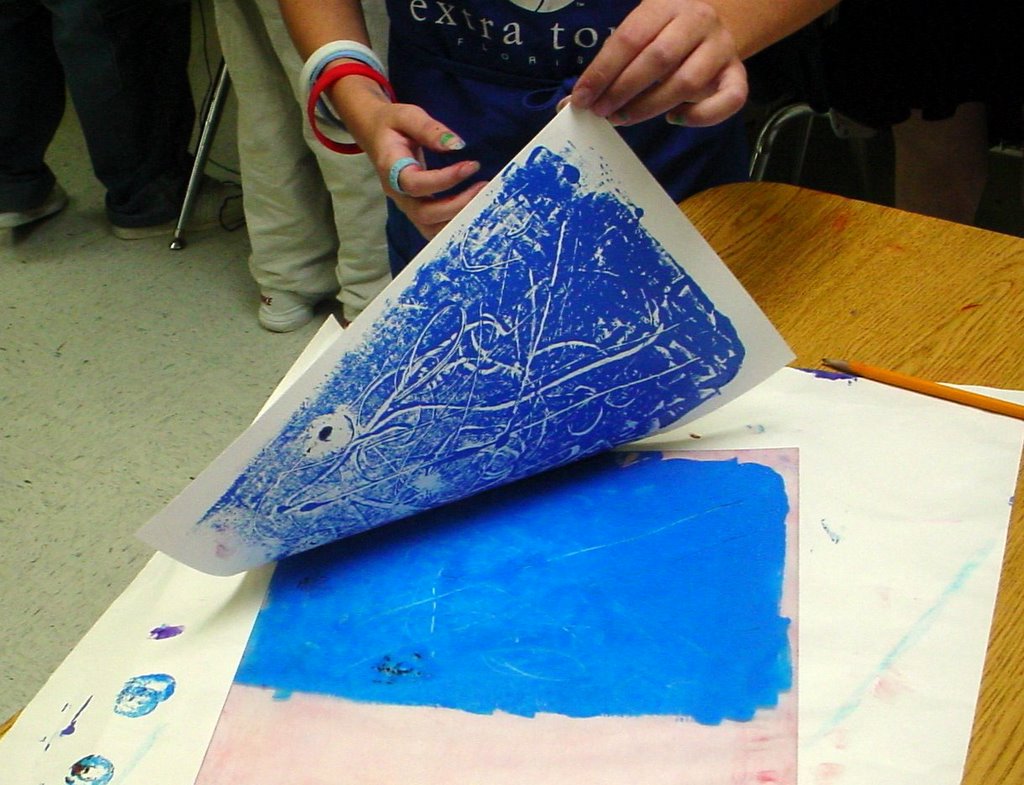
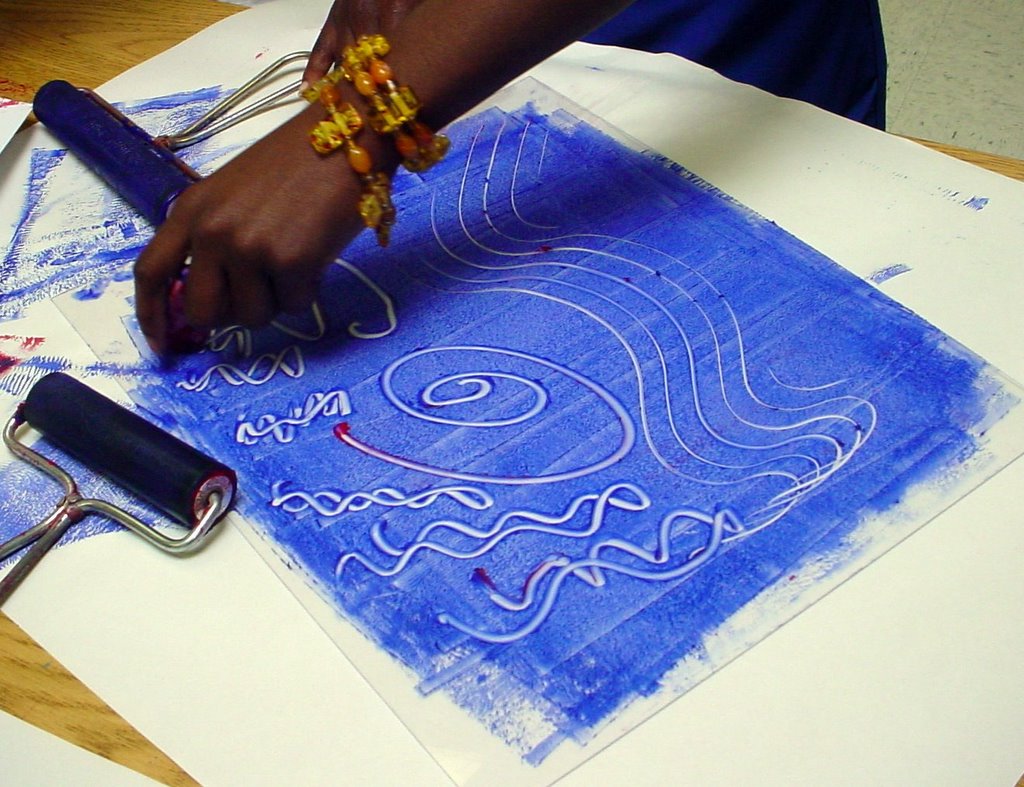
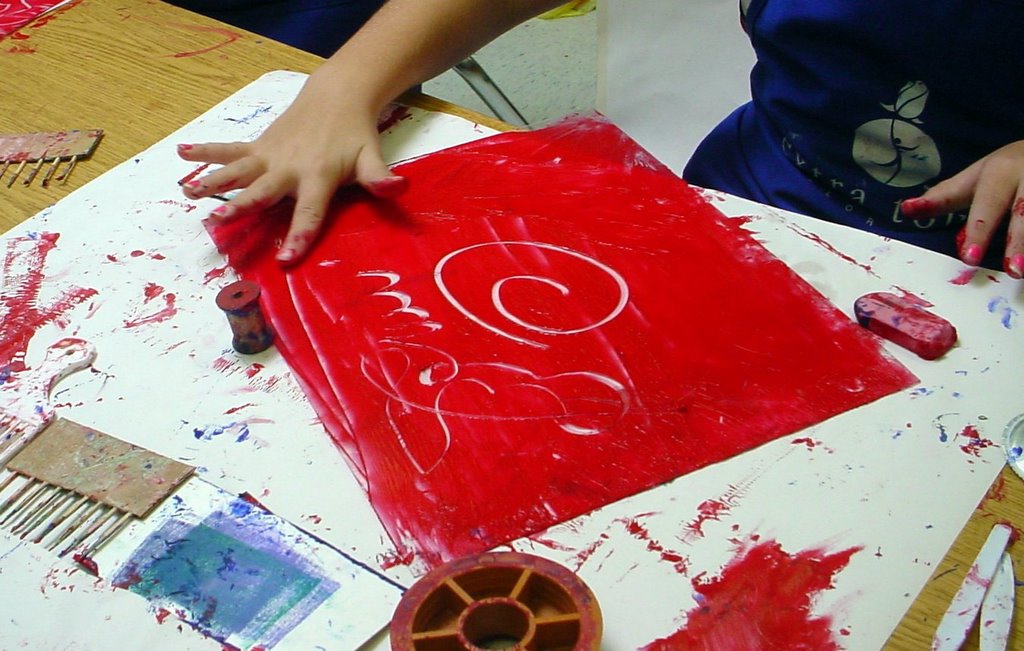
Our sixth station is the printmaking station. Students in third, fourth, and fifth grade have been making monoprints. We use 11 x 14 acrylic sheets as our printing plates. Printmaking ink is rolled onto the plate using brayers, then, using a variety of objects, students create their designs. Paper is carefully placed on the plate, the back of the paper is rubbed gently with the palm of the hand, and the finished print is lifted. This has been a very popular, and messy (!) station.

Riviton